Showing posts with label vegetable. Show all posts

Sunday, September 26, 2010

RECIPE: Grilled Stuffed Portobello


It's Sunday... and you know what that means! I'm playing in the kitchen!

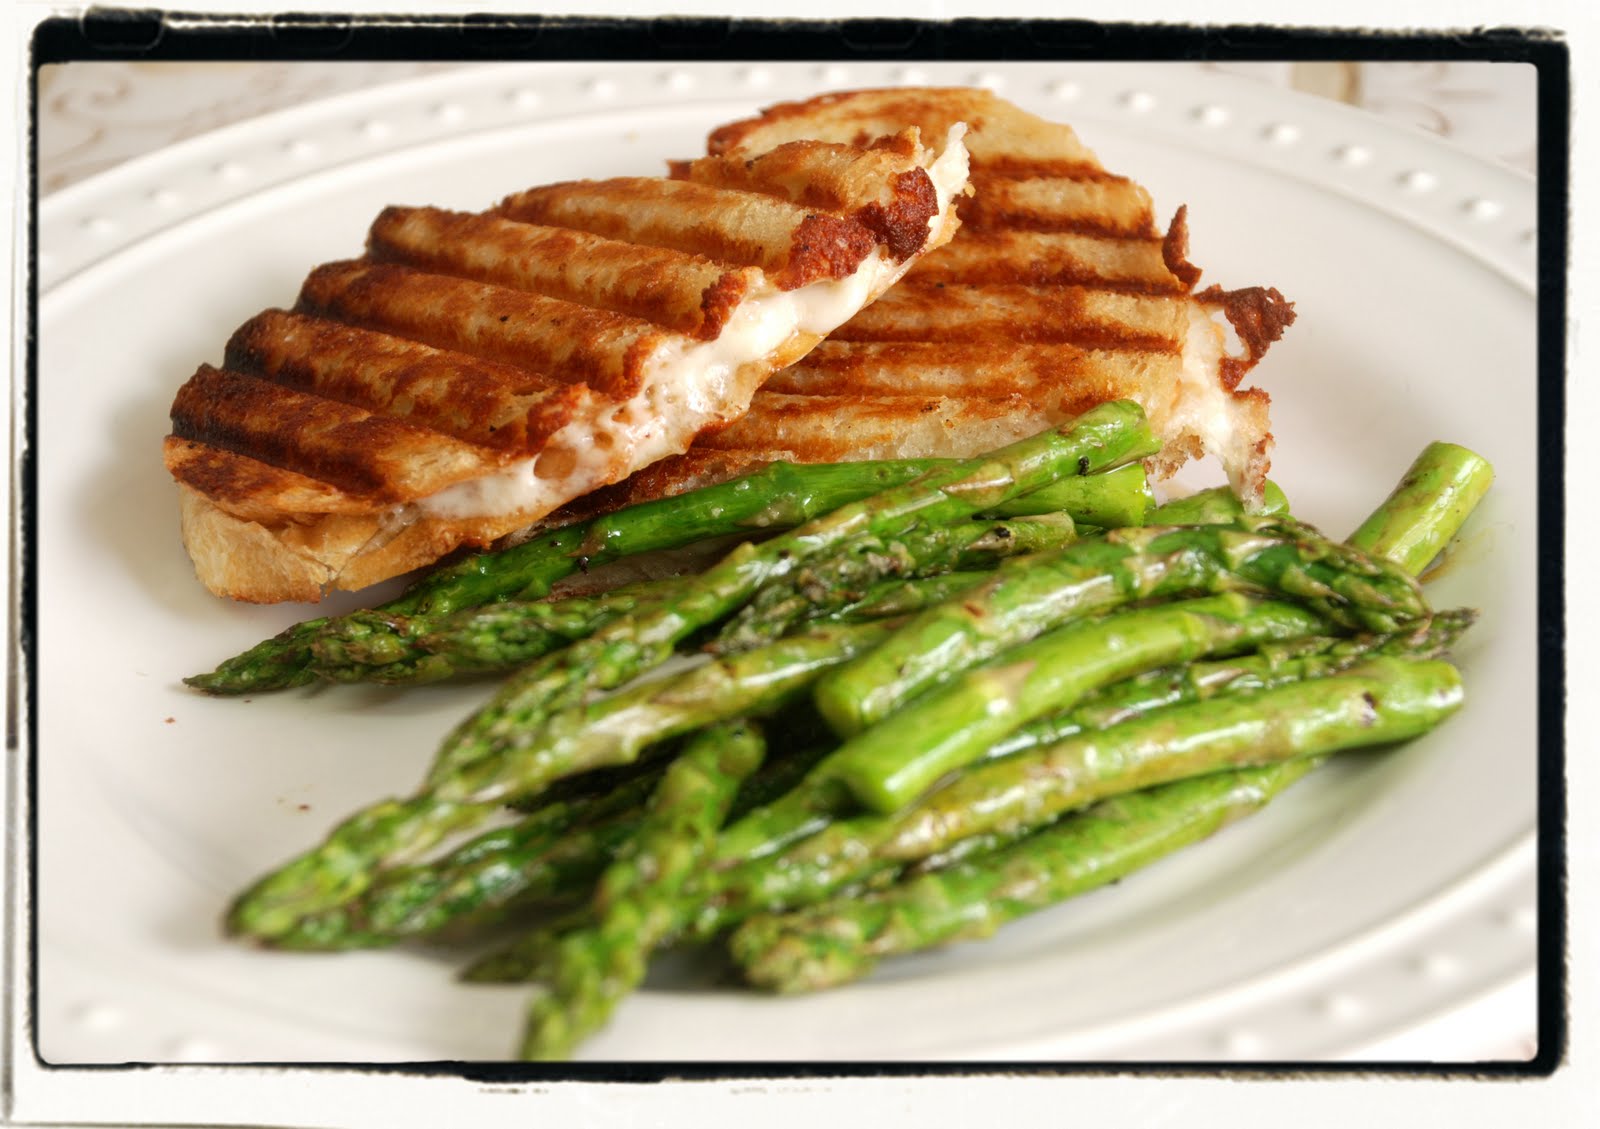
Turn on the grill and get ready for a REALLY yummy lunch (or dinner)...


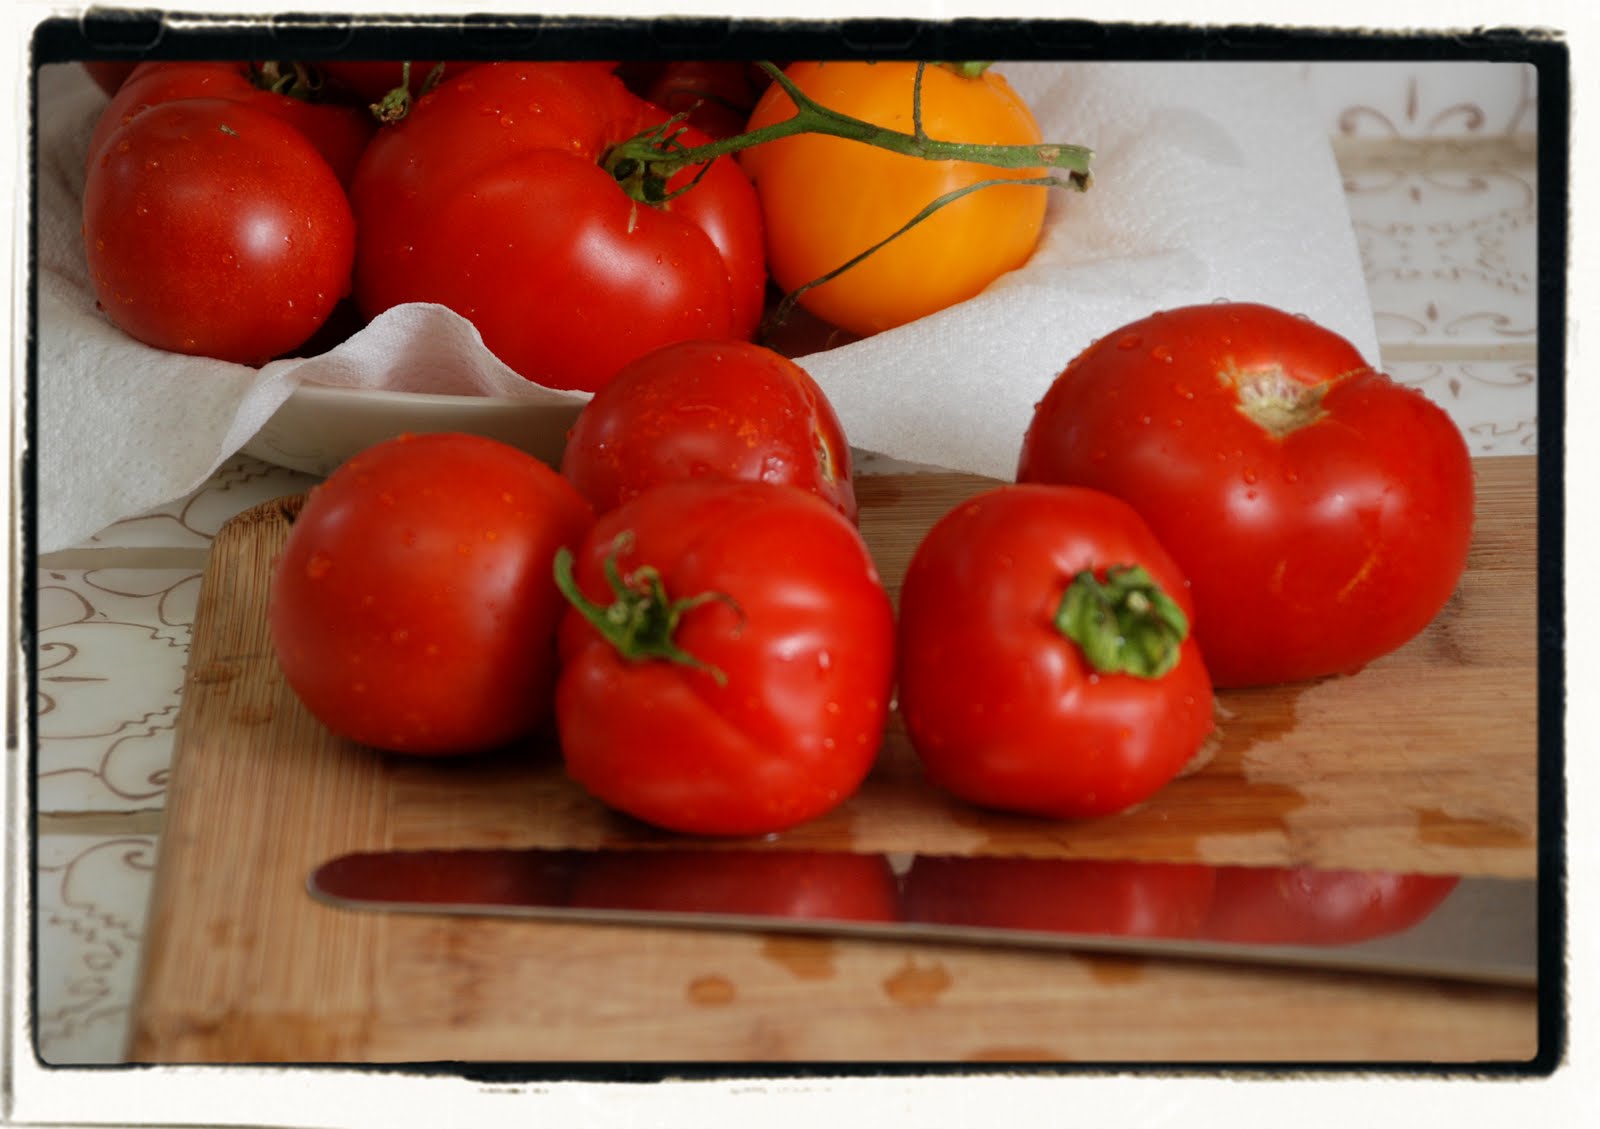
This is where I started... my special garlic infused olive oil, parsley and basil from my garden, an heirloom tomato, a lemon, soy sauce and a few other things...

But first let me show you some of the bounty of my garden: italian flat-leaf parsley and african blue basil.


The basil is so fancy that it deserves a fancy chiffonade...


It's so fancy we're going to make confetti out of it...


Set it aside... we'll use it later.

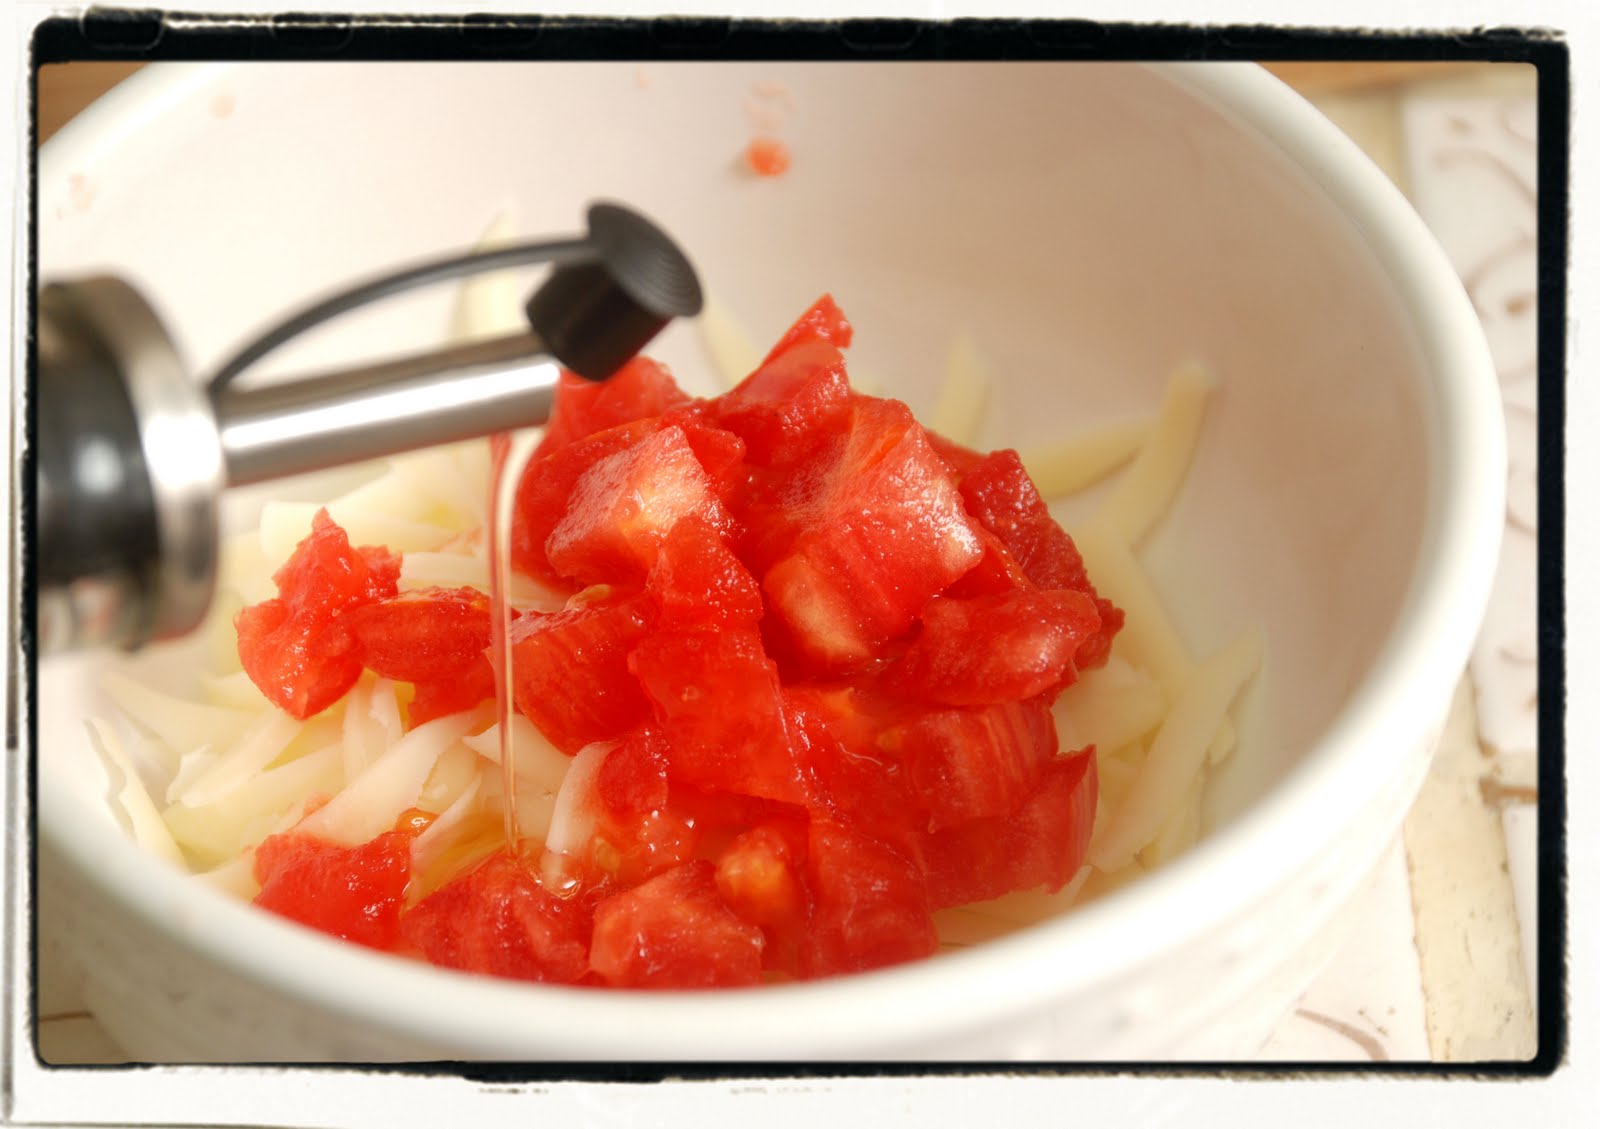
Next we mix together the goods that are gonna go inside the grilled portobello: cheese, tomato, black pepper and some of that yummy oil.


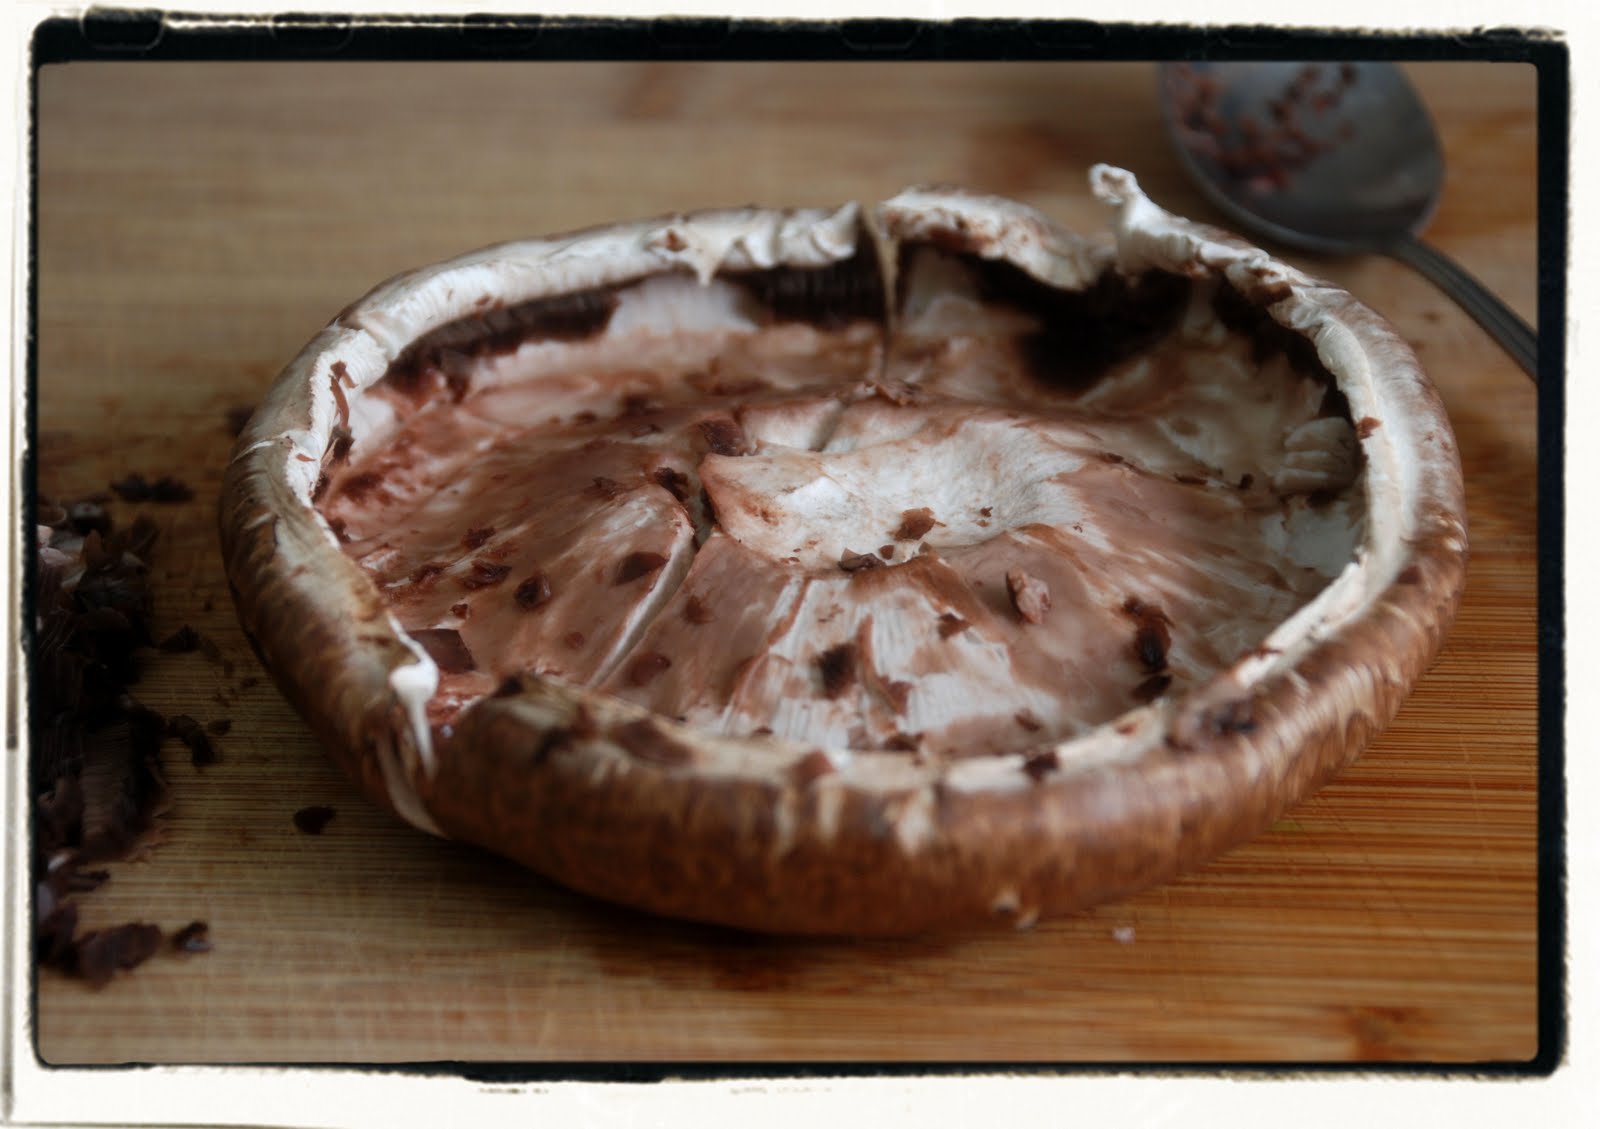
Prep that portobello...


Take out the stem, scoop out the gills and clean it up...


And then it gets some great flavor ...


To the grill we go (or, in this case, the panini pan... the most versatile tool in my kitchen)...


Stem side down to start with... then give her a flip... and fill her up...


Sprinkle with basil and cover for the last couple of minutes grilling. This will help the cheese melt faster and partly steam the tomatoes... mmm...


Serving it up with bread is a must... because the mushroom will leave behind some amazing juices that you'll want to sop up. Just trust me on this one...


But trust me soon... because you want to make one within the week. Especially while the GOOD tomatoes are still in season.


Grilled Stuffed Portobello
Recipe courtesy Lori Tisdale

Ingredients
2 portobello mushrooms
1 medium heirloom tomato, diced
1 cup mozzarella cheese, shredded
1 teaspoon garlic-infused olive oil
1 teaspoon soy sauce
¼ teaspoon black pepper
½ teaspoon kosher salt
1 tablespoon Juice from one lemon
Fresh parsley, chiffonade
Fresh basil, chiffonade

Instructions
Prepare the grill. Combine cheese, tomatoes, black pepper and ½ teaspoon of oil. Remove stems and gills from inside of Portobello. Mix together soy sauce, other ½ teaspoon of olive oil and juice from one lemon. Brush both sides of Portobello with soy mixture. Place Portobello on hot grill, stem side down. Grill for 3 to 5 minutes and turn over. Once turned over, fill each Portobello with tomato and cheese mixture. Sprinkle basil on top. Cover with domed lid and allow to cook for another 3 – 5 minutes. After cooking, sprinkle with parsley. Serve with bread, to sop up the juices that run off the Portobello.


enjoy your time in the kitchen...

Sunday, September 5, 2010

Sunday lunch...

Today I enjoyed my provolone panini and grilled asparagus as I sat down to watch a movie ("The Men Who Stare at Goats", from Netflix - hysterical so far, in a dark and very "odd" sort of way).


My movie continues and I am on the computer to do a little blogging, plan out the afternoon and the rest of the chores I have to do today, this week.... and when I'm going to run all of the necessary errands, etc.


We have house guests next weekend... and I'm looking forward to it! But I've got a lot to do between now and then.


First... I'll watch the rest of this movie and try to figure out what it's talking about ... but first I need to take the cookies out of the oven.


I love my life!!!


enjoy your time in the kitchen...

Monday, July 26, 2010

Bounty of tomatoes...

Today I decided I needed to roast up some of these tomatoes... we simply weren't going to be able to consume all of these before they burst open. It's not my Fresh Bounty ... but I'm still blessed by it! (Thank you, again, Neighbor Bob!)

So, here's what my kitchen activity looked like this afternoon...


First, let's get the introductions out of the way. I'm pleased to introduce you to Tiny the Tomato! She's my new friend. Isn't she adorable?!

I secretly wish I could keep her around forever.

Isn't that how it goes?!

Instead, let's roast her and some of her friends... (I blame my dark sense of humor on being raised in the '80s...)


With a paring knife, I cored each tomato...


Then I cut them into rather large slices...


And diced them into rather large dices...


I layered them, single layer, on a large cookie sheet...


I gently sprinkled some dried italian seasoning and kosher salt... followed by a gentle drizzle of olive oil. I sent them into their glorious future with a smashed clove of garlic.

(Garlic makes everything better, right?!)


And while I'm at it, let's do two batches...


With the oven set at 225F degrees...

About an hour later...


I removed the tomatoes from the cookie sheets and divided them into two freezer bags, 2 cups per bag. Before placing them in the freezer I let them cool down a bit... then found a nice cozy corner of the freezer to securely hold them.


Next week sometime I'll use 2 cups of the best-roasted-tomatoes-my-kitchen-has-ever-seen in a pot of homemade spaghetti sauce... good times!


So, in memorium... let's have one last look at Tiny the Tomato.


enjoy your time in the kitchen...

Sunday, June 6, 2010

the PERFECT (yummy and quick) summer lunch...


It hit 90 degrees F here this weekend (which doesn't make me very happy - I'm more of a cold-weather gal)... in fact, let me ask: am I the only one who plans my summer meals around how long it would require me to stand in front of a hot stove? I CANNOT stand the heat!

So on to more positive things... I took the opportunity to make a yummy, quick summer lunch.


(Um, have I said yet how yummy and quick this was?! )


First, asparagus in my (NEW) cast iron grill pan... drizzle with a lil' bit of olive oil and garlic salt.


Next, panko-crusted shrimp. But this isn't just any ol' plain panko crust... to the panko I added onion powder, garlic salt and chili powder. Just adds a few layers of flavor ... they aren't over-powering flavors, just a background of flavor.

Quick steps for panko-crusted anything...

1) One egg, beaten. Place shrimp (or anything else, for that matter) in egg and thoroughly coat it. 2) Transfer to separate bowl that has panko in it (don't forget to season it for some extra flavor). 3) Toss shrimp in the panko a few times to ensure it is completely covered.
4) Transfer shrimp to medium-hot saute pan with a bit of olive oil in it so it fries up nicely.
And last ...
5) Once fried on both sides, transfer shrimp to paper towel to drain off excess oil.

And voila...


Aren't those beautiful!

Quick sprinkle of kosher salt (not too much - just a touch)... and it's ready to plate!

So let's take another look at it...


You could sprinkle some lemon juice over the top ... but I didn't have any lemons on hand. So I hit it with a few sprinkles of orange zest.

Wow... I'm a genius! (baa haa haa!!!) What a great flavor layer! Try it for yourself...


enjoy your time in the kitchen...


Tuesday, March 30, 2010

Made-To-Order Roast Beef Sandwiches (and Josie's Potato salad)


Around here we love our roast beef! In fact, my hero-of-a-hubby demands it quite often. He's not much of a white meat guy (unless it's lobster of course). But how do I get his veggies in him? With this sandwich (ok, so it's only onion and green peppers - who cares?!)...

The onion is sliced... like this...


The pepper is sliced... like this...


And then I set aside hubby's ingredients while I work on mine (I don't like peppers in my sandwich). This is how we do made-to-order in our house. Yes, it's that simple. DON'T add what you don't like. DO add what you do like!


The crimini mushrooms (baby portobellos) are sliced... like this...


And then I get my own bowl of yummy ingredients...


Then? Get out the saute pans... add a little olive oil and butter and turn on the heat! (The butter adds great flavor while the olive oil has a higher burn temperature and mixed with the butter allows us to saute confidently.)


Add the veggies and toss every minute or so...


Add a little salt... to pull out the natural juices of the veggies so they can saute.


Saute and toss for several minutes until the veggies have softened... tossing every minute or so...


And add your sliced roast beef. (Our deli actually had onion-flavored london broil on sale - so that's what we have this time around!)


It's already cooked, so you only toss the meat with the hot veggies for about 30 seconds.


Turn on your broiler, lay out your bread... and toast your buns!


Once toasted, top your buns with the appropriate mix of ingredients and a few slices of provolone. (Yes, this means the hubby is having two sandwiches tonight! He played golf today and worked up an appetitte while walking about 5 miles on the course... can you blame the guy?!)


Slide your cookie sheet under the broiler and watch closely. You don't want to waste these goods! About 2-3 minutes later you have this...


If you like mayo, slather some on your sandwich lid. And you know where to go from here... really, I've been typing descriptions to all of these pictures just for fun. They are rather self-explanatory. Right?!


Cut your sandwich in half...


And my hero-of-a-hubby recommends you serve it up with some of Josie's Potato Salad. It's our favorite!


Josie's Potato Salad
Recipe courtesy my friend Josie

4 large baking potatoes (Russets work everytime)
3 – 4 boiled eggs, diced
½ cup light mayonnaise
Dab mustard, just a touch
1-3 tablespoons relish (optional)
Salt/pepper to taste


Wash and dice potatoes (keep skin on) – after boiling, allow to cool. (Some people like the potatoes a bit crunchy; Jossie and I like them soft.) Place diced potatoes and eggs in large bowl.
In small bowl - combine mayo, mustard and relish and mix together well. Add small amount of milk for thinning, if desired. Pour over potato mixture, stir until well-mixed.

Refrigerate for at least an hour before serving.


enjoy your time in the kitchen...

LinkWithin

Related Posts with Thumbnails