As a kid, I remember making red anise flavored candy in my mom's kitchen... her instructing me... me following her directions.
This is another one of those recipes she learned in her 7th grade "home ec" class... and she handed it off to me. But it's been over 20 years since she and I have made this together. So, in light of celebrating old traditions this time of year I figured I would try my hand at it again...
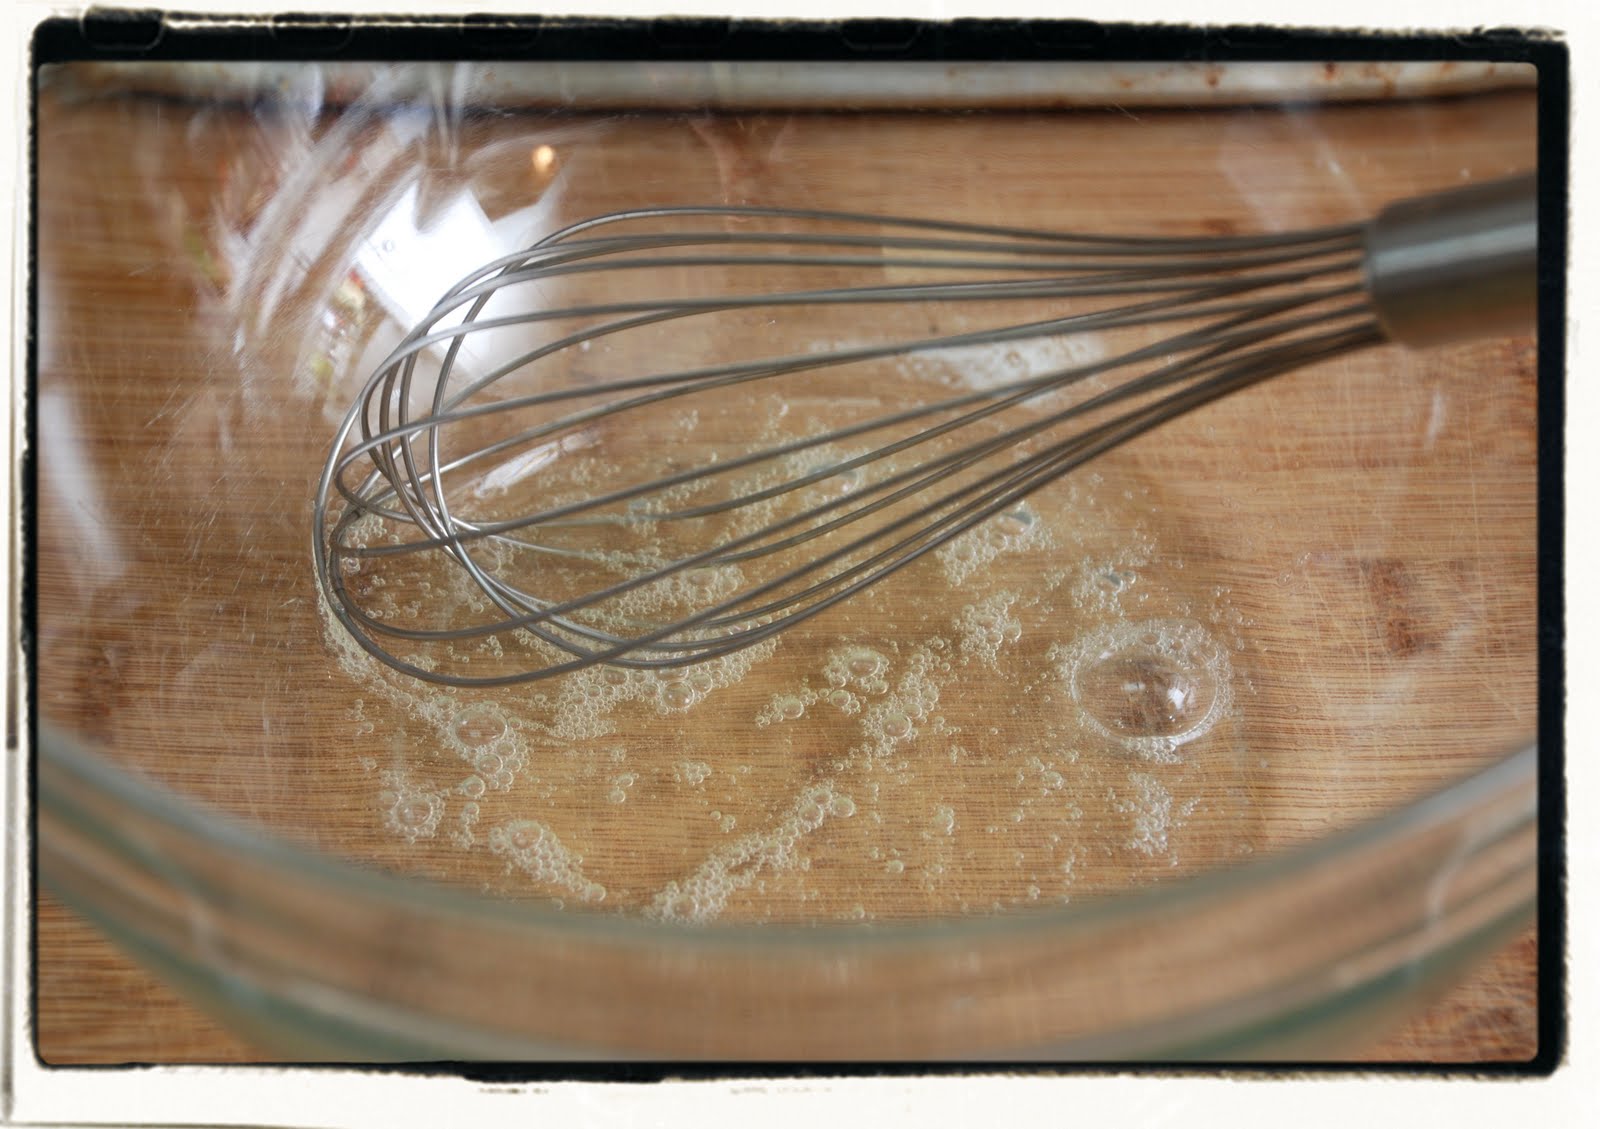
Here's where I started...

I chose to use anise flavoring (tastes like black licorice)... but you do any flavor you prefer. For instance, I colored this red... but if you chose to do mint you could color it green. See where I'm going with this?
But first things first.... let's prep the tray this is going on once it's done.


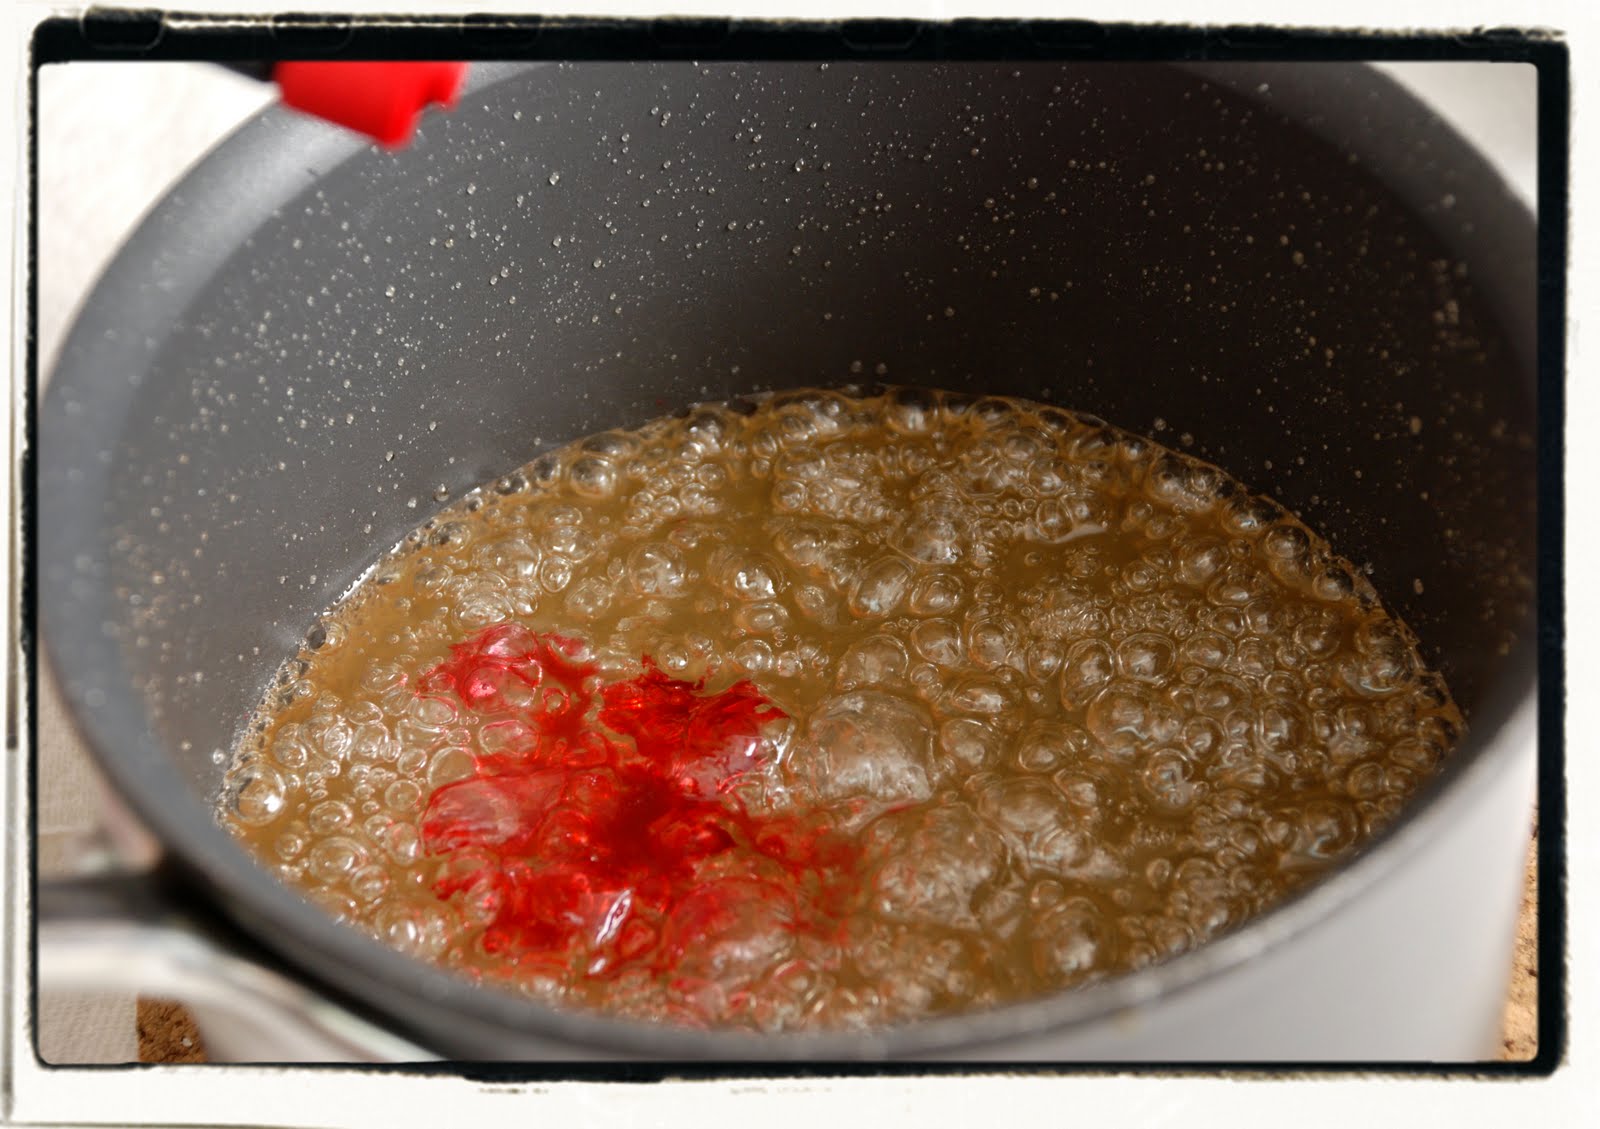
So, we're going to need the candy thermometer again... ready? Over medium-high heat bring the sugar mixture to a boil and allow it to keep boiling gently until it reaches the hard crack stage (300-310 degrees F). This takes 10-15 minutes... keep stirring.


Take the pan off the heat and add your flavoring...

Then the food coloring gets added... add about 8-15 drops. (I wish I would have used a bit more for this batch.)

Making quick work, pour the micture onto the jelly roll pan and allow to cool completely.


Once it has cooled completely (a few hours) you can turn the pan over onto a kitchen towel and break the shards apart with a kitchen knife.

As a kid, I remember THIS being my favorite part...


As an adult, enjoying the rock candy is my favorite part.
Rock Candy Shards
Recipe courtesy Janie Haraldsen
Ingredients
2 tablespoon butter, softened
¾ cup water
2/3 cup light corn syrup
2 cups granulated sugar
1 teaspoon flavoring extract (I used anise/black licorice)
Red food coloring
Instructions
With butter, lightly coat a jelly roll pan - set aside. In a heavy saucepan, with a candy thermometer inserted, combine water, corn syrup & sugar. Bring to a boil over medium-high heat - stirring continually, dissolving all sugar crystals. Stir the whole time until the thermometer reaches the hard crack stage - 300 degrees F.
Remove from heat, stand back & carefully stir in anise extract & few drops of red food coloring (it WILL sizzle). Pour into prepared pan & let cool completely.
Lay out clean dish towel, turning out hardened candy on it. Wrap up gently and crack with the big end ofa butter knife. Store in a cool, dry container.
enjoy your time in the kitchen...