Monday, April 4, 2011

Lovin' our homemade pizza...


A new favorite in our house... an old classic. I found this multi-grain crust at my local Albertsons. "Culinary Circle" is their upscale store brand name. And wow... they sure know how to make a good upscale store brand pre-baked pizza crusts.


And then we topped it with some really good pizza toppings to make a Manly Meaty Pizza... garlic-infused olive oil, marinara of choice, Gallo salame and pepperoni, mozzarella cheese... you know, your favorite pizza toppings, whatever those may be.

On the "girly" side of the pizza I used my pesto of choice and a vine-ripened tomato... and maybe a few slices of pepperoni slipped in there too.


Next, I drizzled some garlic-infused olive oil on the crust... and brushed it over the top of the whole crust.


And I will say here that I'm convinced that broiler pans bake pizza doughs just as good as pizza stones. The air circulates up under the crust and dries it out... so it gets nice and crispy and perfectly done!

How did I discover this? Well, we've been using pizza stones for at least 10 years now (for frozen pizzas). And recently our pizza stone dropped and cracked in half. I hadn't had a chance to replace it yet before I wanted to make another pizza. So, I gave the trusty broiler pan a whirl... and voila! Perfectly, crusty crust!


Now, on to the toppings... marinara sauce on His side, pesto on my side.


I sprinkled mozzarella cheese across the whole crust... then...

On His side I topped with meatballs (cut in half)
On my side I topped with sliced raw tomatoes

And then more mozzarella, and (oh yeah) also some crumbled bacon. Yes, bacon.


Next, salame... and some more mozzarella.


Last, a layer of pepperoni... followed by? What else... mozzarella.


TIP FROM LORI: If you like crispy pizza (and we do) then do what we do. If the instructions on the crust reads to bake the pizza at 400 degrees F, then we actually bake it at 425 degrees F for a slightly less amount of time.


So, it's time for the close up shot...


Above: the Manly Meaty Pizza...

Below: the Girly Pesto Pizza...
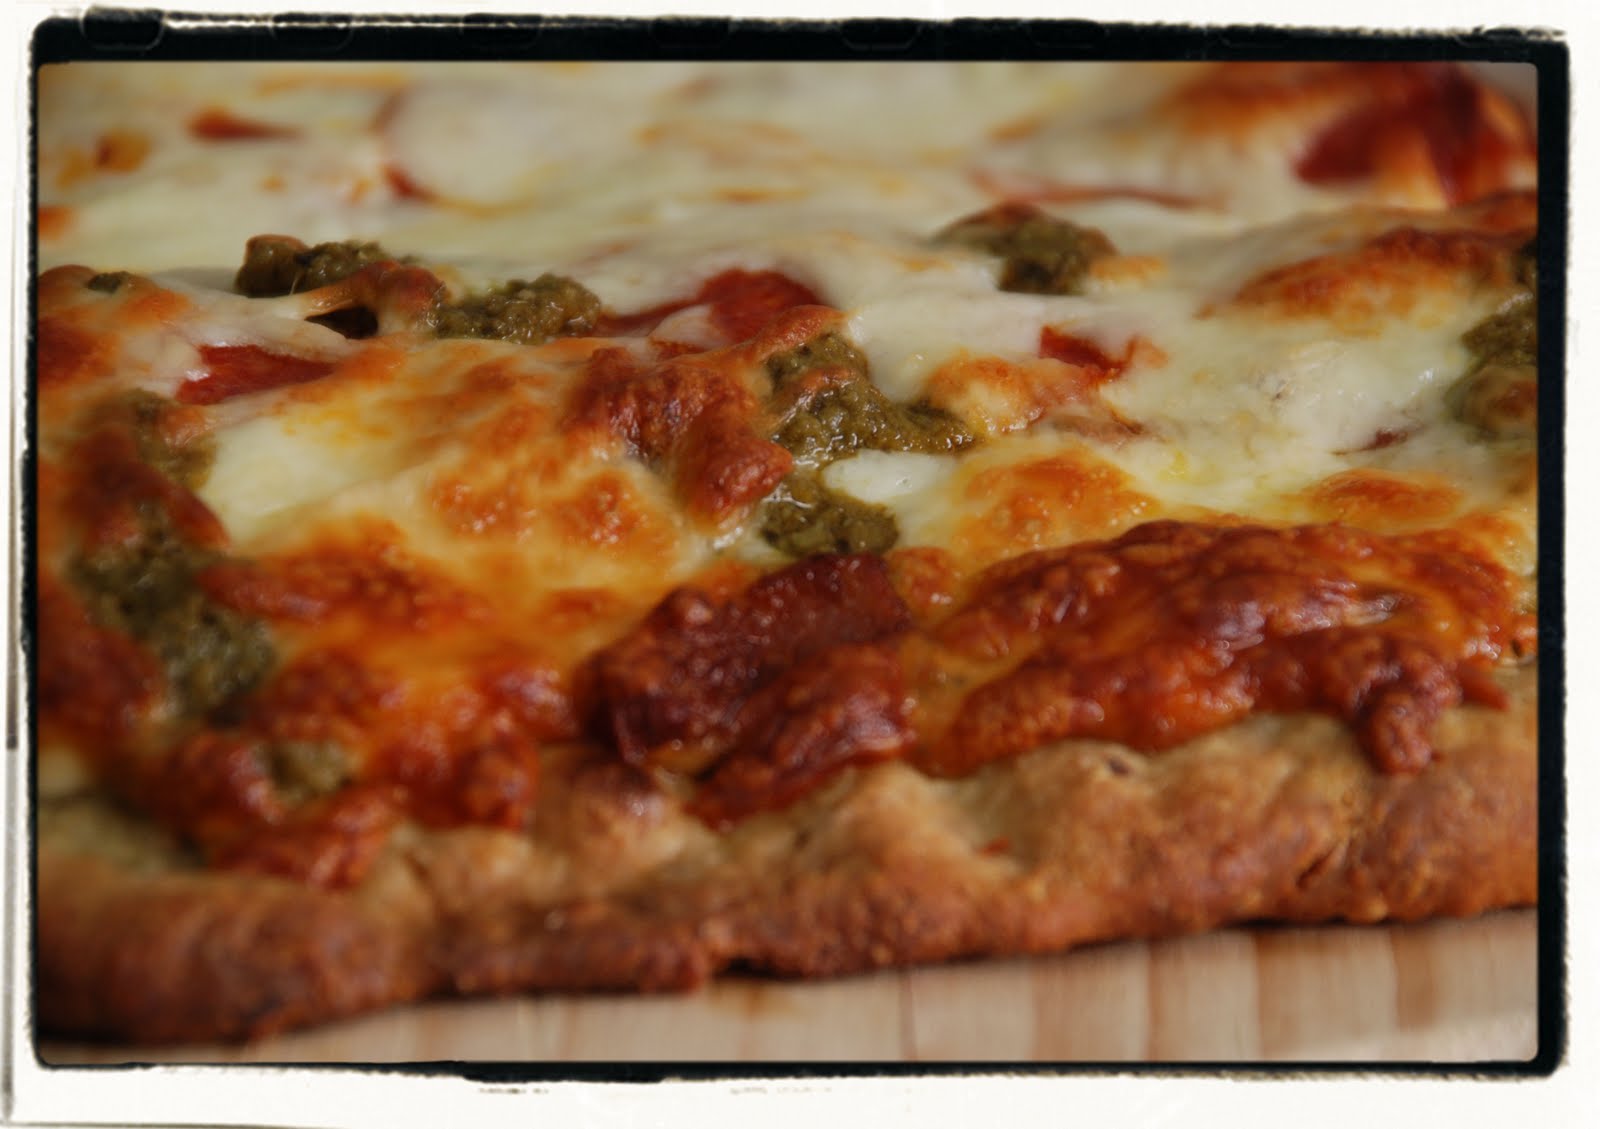


Both are equally scrumptious... and a little sinful.


We also usually shake some red pepper flakes on top of one of those layers and sometimes some garlic salt too. Tonight I forgot... but we didn't send the pizza back...


enjoy your time in the kitchen...

Sunday, April 3, 2011

RECIPE: Lasagna Cups


May I present to you Lasagna Cupcakes...

It's quick, it's a great dinner party conversation piece and best of all... it's yummy!


Here's the short and quick of it: cut the corners off of wonton wrappers... yes, wonton wrappers. Tuck them into greased cupcake tins and then begin the normal lasagna layering process... just in much smaller quantities.


First start with the parmesan, mozzarella and ricotta cheeses... then spoon in some marinara sauce.


Add some browned meat (I used ground beef and italian sausage) seasoned with dried oregano, dried parsley and salt/pepper... followed by some more cheese and some more sauce and some more... yeah, you get the point.


Place the cupcake tin(s) into the preheated oven and let it bake away. It's done in about 20 minutes and believe it or not they are easy to scoop up out of those tins. And they are yummy... and sure to be a crowd pleaser! (But that's only if you want to share...)


Thank you Tablespoon.com for posting this idea just in time for this weekend's dinner party...


enjoy your time in the kitchen...

Saturday, April 2, 2011

lovin' homemade pizza...

I tested this out last week... the full blog post to follow the next time we have this for dinner.


What kind of pizza is this?

2/3 of this pizza is "Manly Meaty Goodness" (meatballs, bacon and pepperoni)
The other 1/3 of the pizza is girly-pesto-pepperoni yumminess...


Easiest dinner I've made in a long time... and my hero-of-a-hubby has transferred the "hero" title to me, at least for tonight.


Tonight we used the broiler pan (because our pizza stone recently cracked in half)... and I'm convinced that the broiler pan is just as good. The air circulates up under the crust and makes it crispy - just like we like it! LOVE IT!


Watch for the full post... within the next week, I promise!


enjoy your time in the kitchen...

Friday, March 25, 2011

RECIPE: Simple Pepperoni Calzone


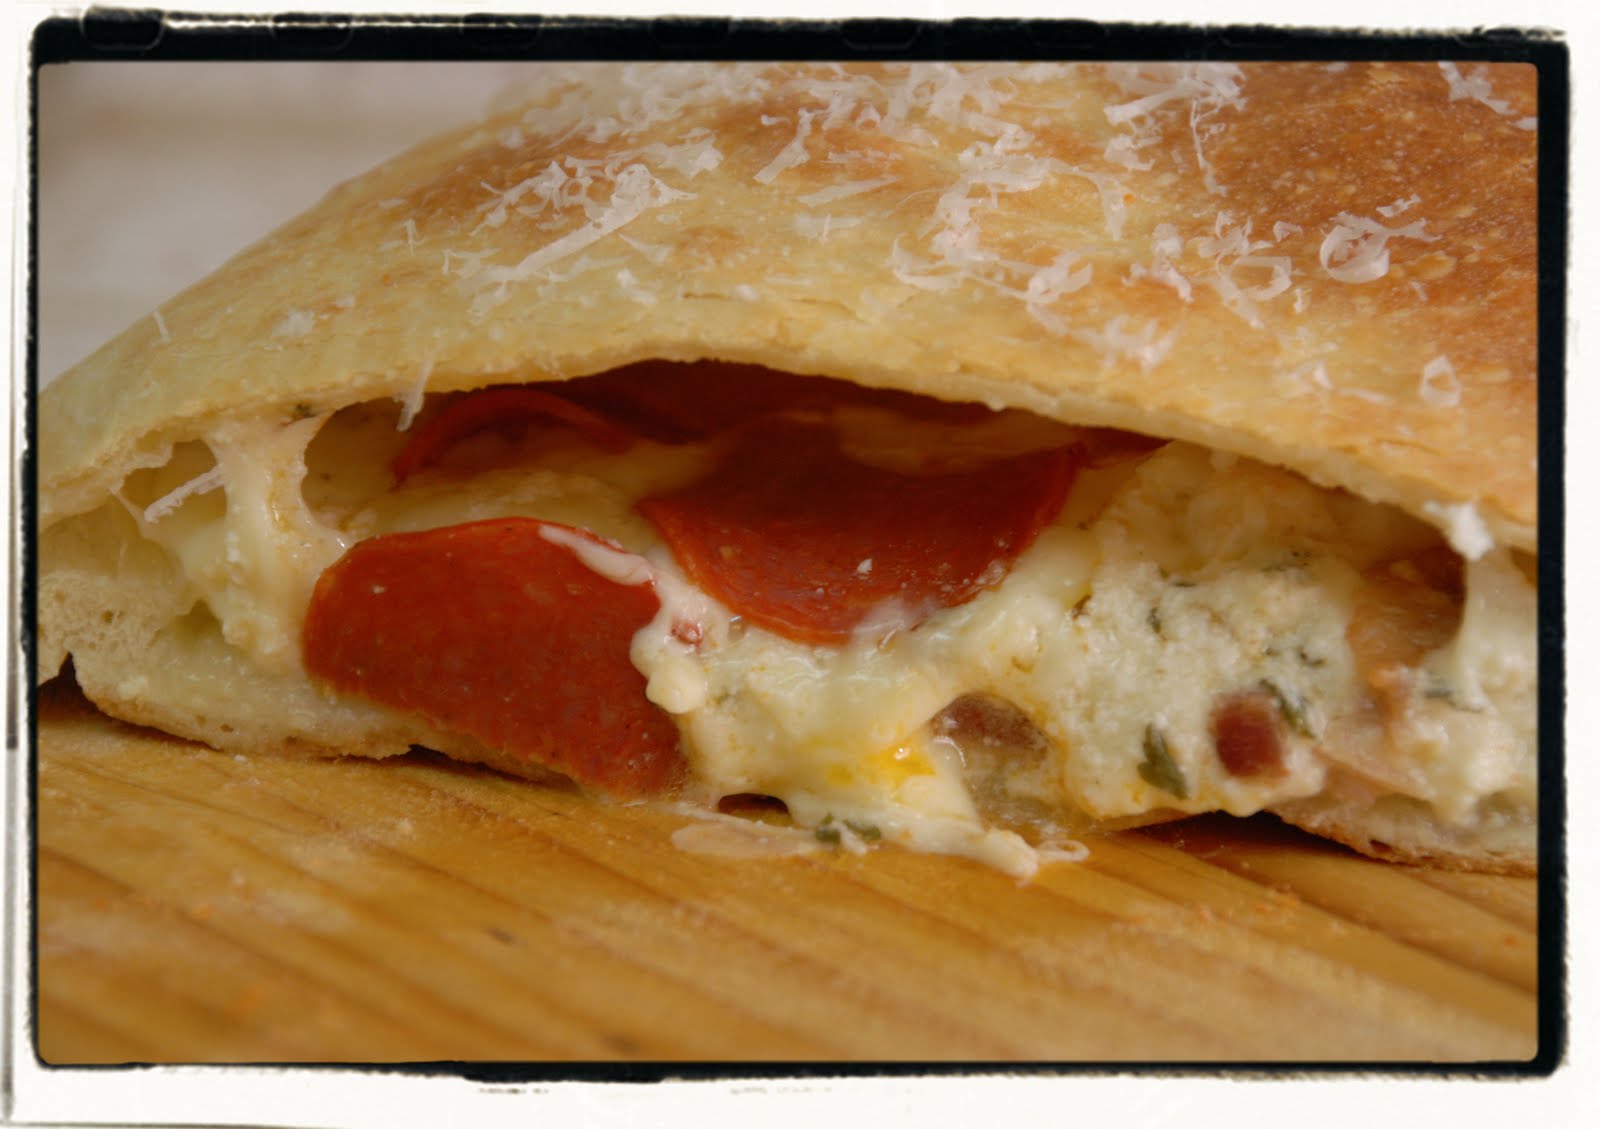
This calzone is easy enough to throw together in 30 minutes and you'll be a hero in your kitchen! Once you crack it open you smell the metled cheese, the yummy herbs that add such flavor and, and... you want to make this!


This post is to celebrate having my camera back! For the last 5 months I've been using an "old camera" (a semi-broken, duct-taped together older camera)... but I keep it around for posterity sake. It was my first digital camera ... and it inhabits a soft spot in my heart.

THAT SAID, I'm once again getting used to this camera and feel the need to apologize for some of the blurryness (even though it's only in a picture or two). Pardon me, just getting reacquainted after 5 months...


However, my camera issues didn't keep me from being a hero in the kitchen tonight!


Here's where I started: prepared pizza dough, some dried herbs, crumbled bacon, pepperoni, mozzarella and ricotta cheeses and some garlic-infused olive oil.

But first preheat your oven... to 425 degrees F.


Mix together the cheeses, herbs, bacon and a pinch of red pepper flakes (not pictured here). Toss in the crumbled bacon.


Roll out the prepared pizza dough to about 12-14 inches (on a lightly floured surface).


Note on the pizza dough: I bought it at Trader Joe's, already prepared. It's sold in the refrigerated section (near the cheeses). And they sell both "plain" and "whole wheat". Tonight we went with the plain...

Pile the filling on one half of the dough (spreading it out evenly), top with pepperoni, leaving at least an inch of dough at the edge of the crust.


Drizzle with some of the garlic-infused olive oil and pull the other half of the dough over the filling.


Crimp the edges together and curl the dough under slightly.


Transfer calzone to a broiler pan and drizzle/brush on a little more garlic-infused olive oil.


Bake in a 425 degrees F oven, on a rack positioned in the middle of the oven, until it puffs up nicely and browns (about 18-20 minutes).


Remove from broiler pan with a pizza peel and allow to cool for at least 5 minutes. And it doesn't hurt to grate some fresh parmesan over the top... right?!


Cut it into a few pieces and serve up... but more than that, ENJOY!


You'll be the hero too!


Simple Calzone
Recipe courtesy Lori Tisdale

Ingredients
2 cups grated mozzarella cheese
½ cup ricotta
½ cup bacon, crumbled
½ teaspoon dried oregano
½ teaspoon dried parsley
½ teaspoon chopped fresh thyme
Red pepper flakes, pinch
handful of pepperoni (about 18-20 slices)
1 store bought pizza dough
2 tablespoons garlic-infused olive oil

Instructions
Preheat oven to 425 degrees F; position rack in middle of oven. Toss together mozzarella cheese, ricotta, herbs, bacon and red pepper flakes. Unroll dough onto a lightly-floured flat surface. Roll dough out to at least 12-14 inch diameter. Mound filling on one half of dough; leaving 1 inch of dough around the edge. Drizzle with 1 tablespoon garlic-infused olive oil and top with pepperoni. Fold dough over and crimp dough together; fold edges of dough under to create soft edge.

Transfer calzone to broiler pan or pizza stone. Bake until dough puffs and browns slightly, about 20 minutes. Brush with other tablespoon garlic-infused olive oil. Transfer to a pizza peel (or cutting board) and allow to cool for about 5 minutes before cutting into 4 pieces and serving.


NOTE TO SELF: Next time I make this use meatballs inside of this! Yum!!!


enjoy your time in the kitchen...

Friday, March 18, 2011

Step 1 to homemade Limoncello

Have YOU ever had limoncello? I first enjoyed this after a meal at a ristorante in a back-alley in Florence, Italy. The aperitif is said to clean the palate and leave the belly warm as you stroll through the streets at night...

Yes, it's THAT romantic. And ever since then I've had a small bottle of Villa Massa limoncello in my freezer.


So, let's try making it at home...


Here is where I started after researching dozens of recipes...

Step 1:

- Combine 750 ml bottle of vodka and 750 ml bottle of Everclear (tasteless grain alcohol) in a container with a lid, at least the size of a gallon.
- Add rinds from 15 large organic lemons (unwaxed, scrubbed clean with a vegetable brush). You will want to use the lemons with thick, bright skin that are mostly free of flaws/nicks.


Using a swivel peeler is the best (it will peel off just the skin)... but if you don't have one of those you can use a knife. Just make sure to skim the white off the back of the skin with a knife...


Note on peeling lemons... if you are using a knife you will most likely need to remove the white pith on the back of it. You don't want any of that white pith - it makes the drink bitter.


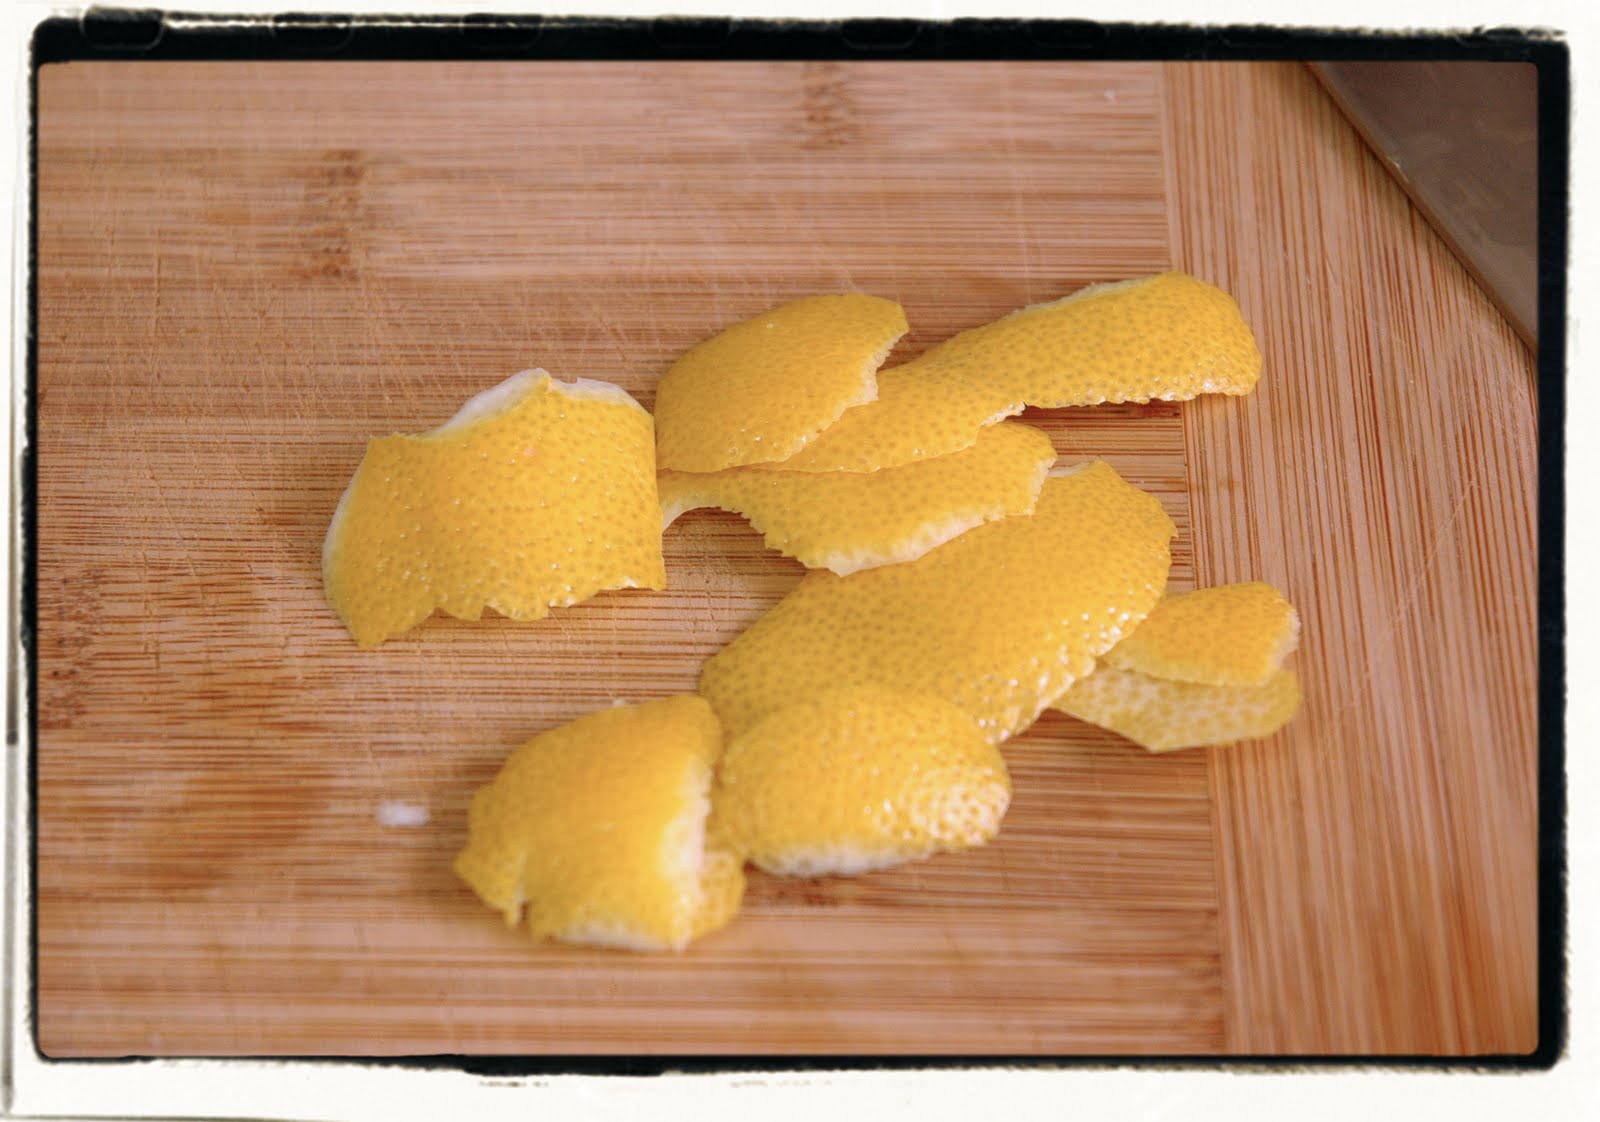
So, just keep peeling those lemons... one by one. And add the rinds to the alcohol. Below are the rinds from one lemon.


(It was at about this moment that I realized I needed a larger container. Hence, the different container in the next few pics.)


Yes, this is a labor of love... and believe me, it's very worth it! Keep peeling...

And of course, once you've peeled the lemons you will want to juice them. I poured mine into ice cube trays and threw them in the freezer. Summer's a comin'...


Where do I go from here?
What are the next steps?
How long does this process take?

Once I add the Everclear (tomorrow), I will transfer the fluids to a larger container (with a tight lid) and set it aside in a cool/dark place. Every two weeks I will gently stir the mixture. After 5-6 weeks I will test the lemon rinds.

How to test the rinds? Remove a rind and bend it in half... if it snaps apart like a crisp potato chip then it's time to move to the next step. The lemon rinds will impart a most beautiful flavor without sourness or bitterness ... just enough tartness to make it fabulous!

But it's a slow process. So what's the next step? After these 30-40 days there will be another 30-40 days in the process. Like I said, it's a labor of love. I can't wait to try this during the summer...

Follow along with me?


Stay tuned... you won't regret it...


AND, I'm also making this with grapefruit...


Can't wait... I can't wait!


enjoy your time in the kitchen...

LinkWithin

Related Posts with Thumbnails