Sunday, April 17, 2011

Steps 2 and 3 to homemade Limoncello


Time to check in again on the homemade limoncello. At two weeks and then again at four weeks... it's time to take a gander and a stir.

But we're also checking in on the grapefruit liqueur... both of these liqueurs have been steeping for 4 weeks. After 2 weeks I took them out of their dark, cool cabinet to give them a stir. And now at 4 weeks we do the same...


This is what the grapefruit liqueur looks like... isn't that beautiful?! I truly look forward to enjoying this treat when it has fully steeped.

But we still have several weeks for that...


Time to check the limoncello...


And by "check" I mean, give it a stir... there's not much else to do here.


Except wait... the wait will go on for another month or so. Stay tuned...


enjoy your time in the kitchen...

Monday, April 11, 2011

RECIPE: Oatmeal Chocolate Chunk Cookies


Some really good cookies were made here in my kitchen today... they are kinda crunchy but mostly soft, really sweet and really rockin'!

This is where it all starts... cream together the good stuff (sugars, butter, vanilla and eggs).


Once it's all creamed together... mix together the dry ingredients: flour, oatmeal, salt, baking soda and baking powder.


A little at a time, add the dry ingredients to the wet mixture...


But here is where it gets tricky... the mixture gets so thick that you will need to put some elbow grease into it. (In fact, I took the mixing bowl off of the mixing stand and did it by hand from here... taking breaks every few minutes.) ; -)


I chopped up the chocolate and added it along with the chocolate chips... you can either use 4 of the regular size chocolate bars or one of the King Size bars. It doesn't matter either way...


Mix it just one more time...


Scoop, scoop, scoop, scoop, scoop...


And then bake, bake, bake...


Try not to drool...


OK - you can drool now...

But only after you've gone to the store, stocked up on chocolate bars and made these for yourself. And it makes A LOT of cookies... so be prepared to share!


Oatmeal Chocolate Chunk Cookies
(This is rumored to be Mrs. Field's recipe, but I haven't been able to ask her myself to confirm that.)

Cream together:
2 cups butter, softened
2 cups granulated sugar
2 cups brown sugar
4 eggs (room temperature)
2 teaspoons vanilla

Combine the following ingredients and add to creamy mixture:
4 cups flour, sifted
4 cups oatmeal
1 teaspoon salt
2 teaspoons baking soda
2 teaspoons baking powder

Once well combined, add
8 oz. semi-sweet choc. chips
7 oz. Hershey bar (chopped)
Optional: add 3 c. chopped nuts

Bake on ungreased cookie sheet, 375 degrees F, for about 8-10 minutes.


enjoy your time in the kitchen...

Tuesday, April 5, 2011

Perfect for Saturday brunch...


Thank you Pillsbury for making my Saturday morning! A girlfriend was coming over for brunch in about an hour and I opened the refrigerator to pull out the ingredients to make a frittata... and I realized I had forgotten to purchase more eggs when I was at the grocery store. As you may or may not know, you can't make much of a frittata with only 2 eggs... hmm... NOW WHAT?!

Pillsbury to the rescue!!! I went searching online and found the perfect recipe: Hashbrown Egg Cups.

Brunch ended up being a complete success ... we got to choose from fresh fruit, fresh baked banana muffins and my personal favorite... oh yeah, and the piping hot hasbrown egg cups.


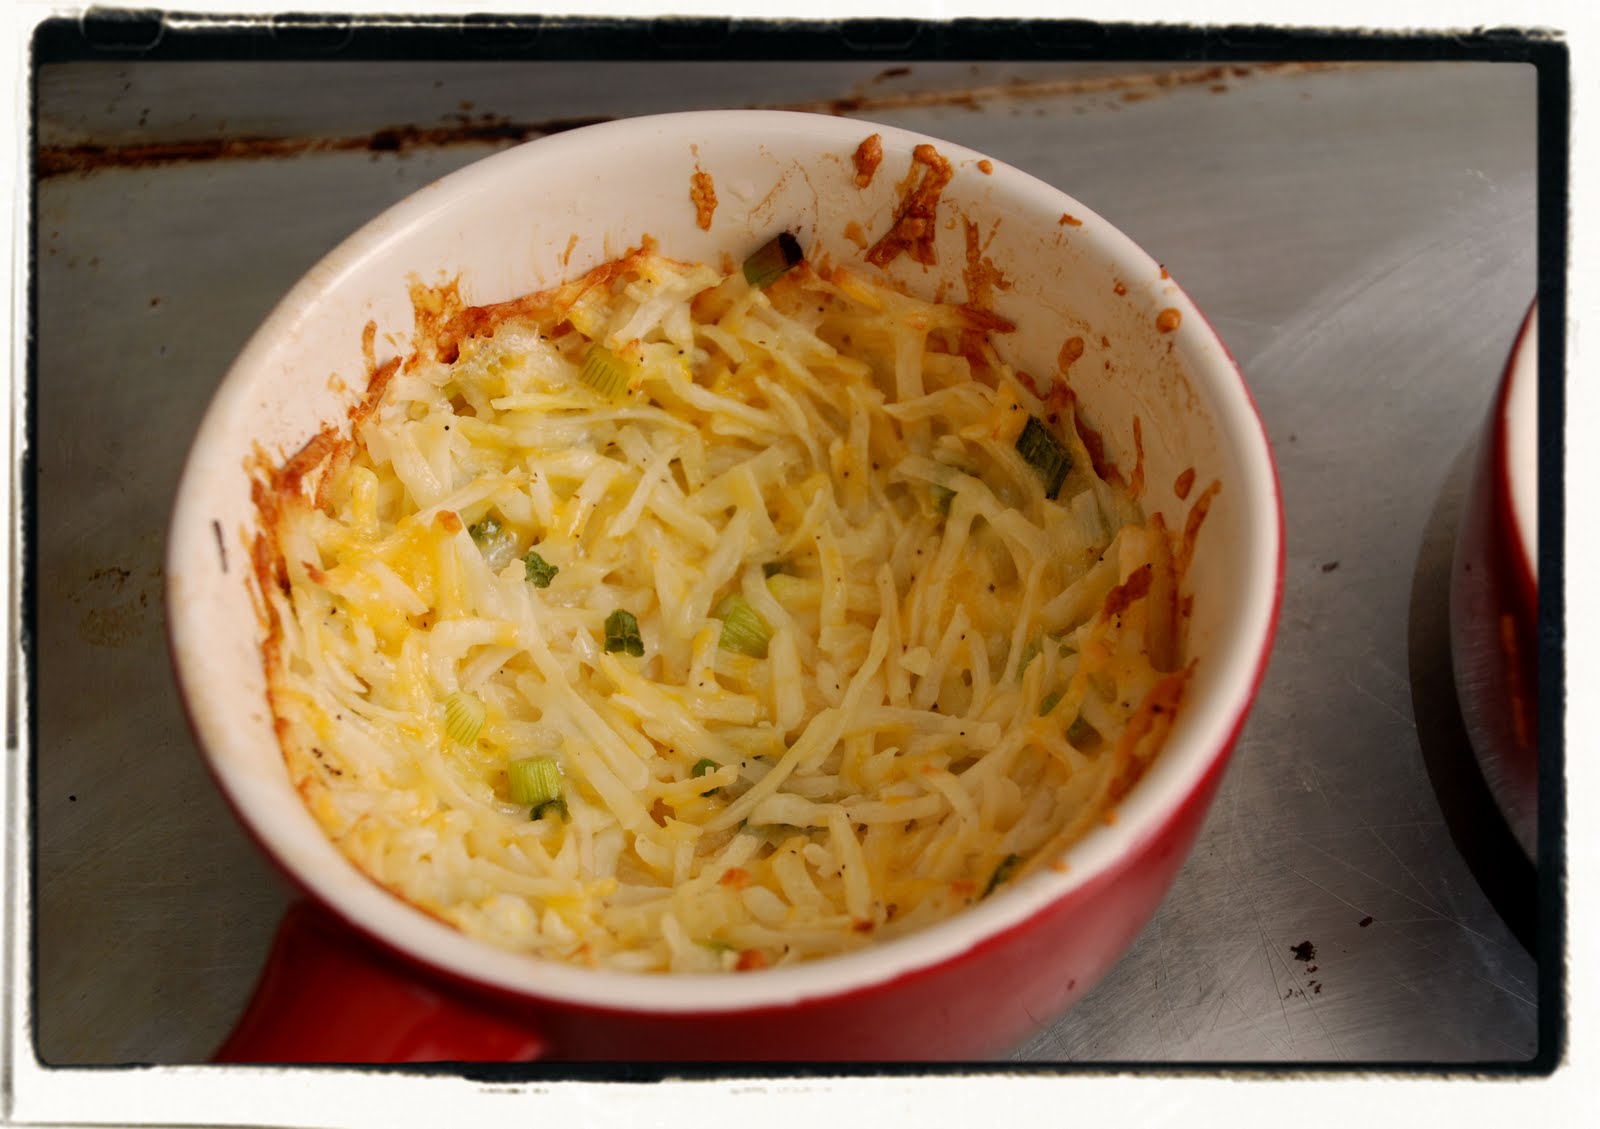
So, in this post I'll show you how I made the hashbrown egg cups... it's so easy! And my friend can vouch for how yummy they were... and comforting and filling and cute ... all at the same time!


I started by combining prepared hashbrowns, grated cheese, green onions and salt/pepper.


Then I greased the oven-safe bowl and added the hashbrown/cheese mixture by shaping it and pressing it aganst the walls, to create a cup shape.


I placed the bowls on a baking sheet and slid them into a preheated oven...


Following Pillsbury's instructions, the hashbrowns baked for a while. In the meantime I scrambled the eggs and counted the minutes...

When the time was right I added the scrambled egg and topped it with a tad more grated cheese.


You want to make these... I promise!


And yes, I do believe we'll be having some for dinner this week too... 'cuz we're "breakfast for dinner" kind of people.


enjoy your time in the kitchen...

Monday, April 4, 2011

Lovin' our homemade pizza...


A new favorite in our house... an old classic. I found this multi-grain crust at my local Albertsons. "Culinary Circle" is their upscale store brand name. And wow... they sure know how to make a good upscale store brand pre-baked pizza crusts.


And then we topped it with some really good pizza toppings to make a Manly Meaty Pizza... garlic-infused olive oil, marinara of choice, Gallo salame and pepperoni, mozzarella cheese... you know, your favorite pizza toppings, whatever those may be.

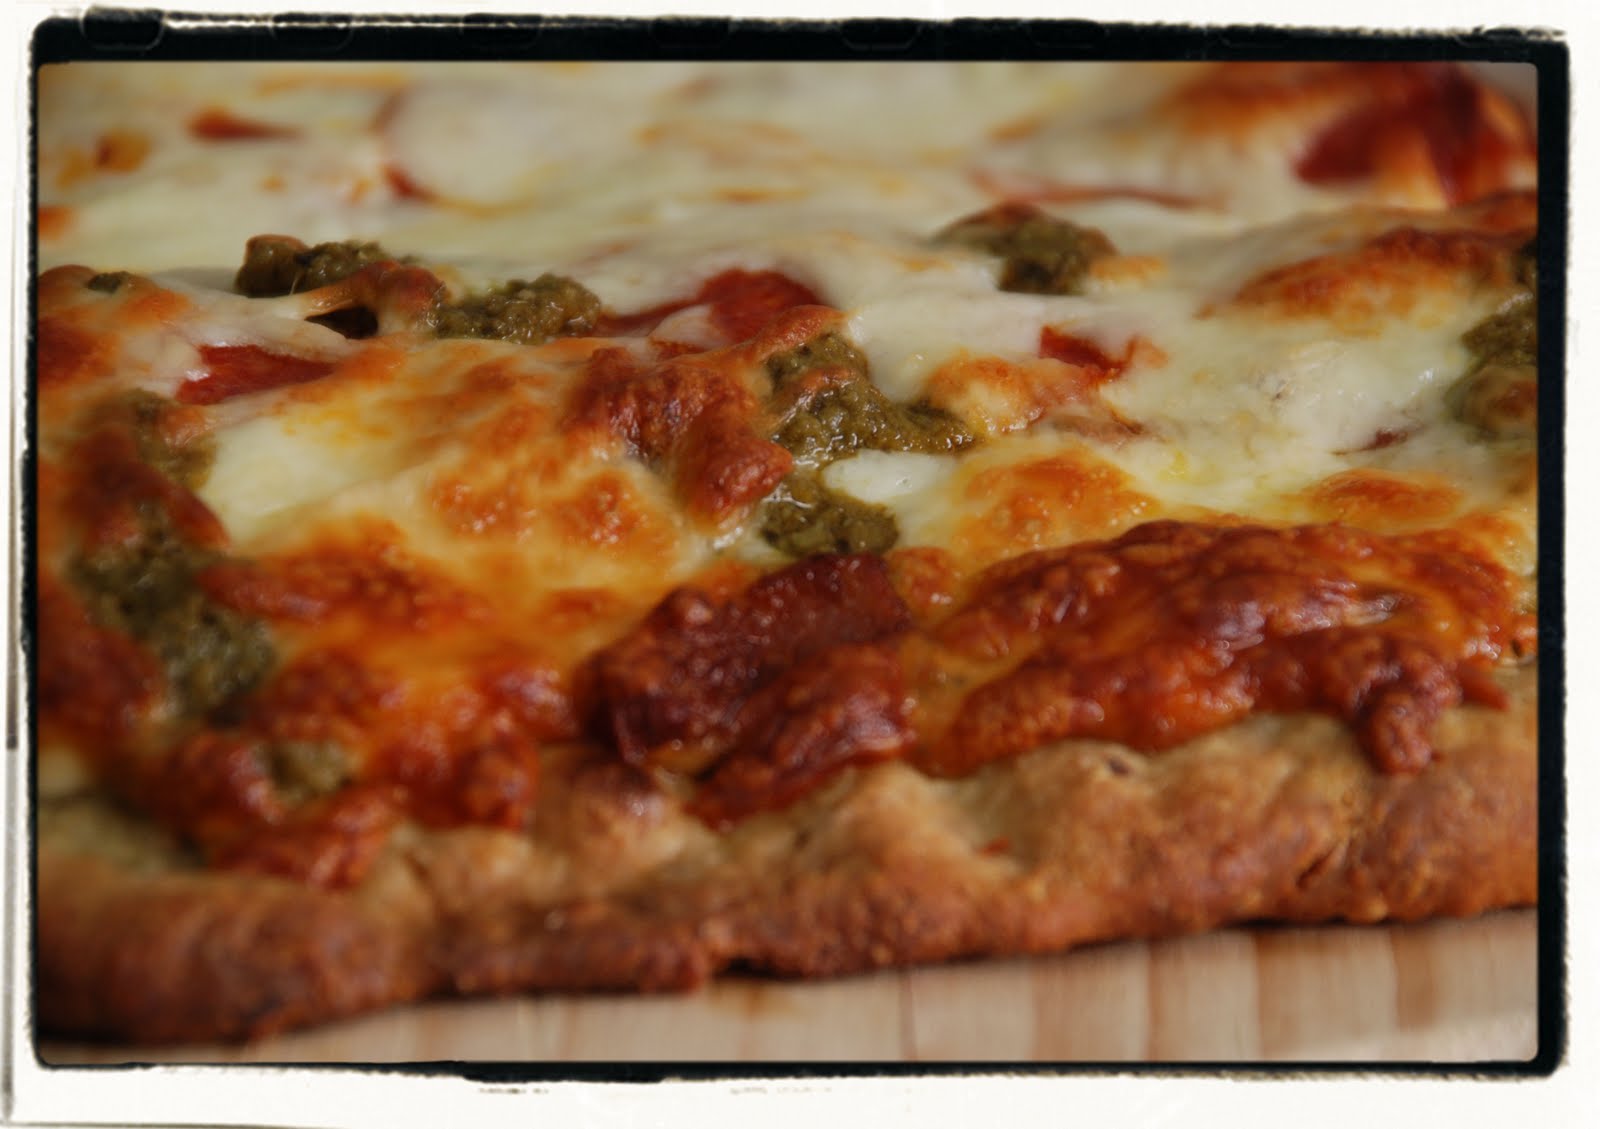
On the "girly" side of the pizza I used my pesto of choice and a vine-ripened tomato... and maybe a few slices of pepperoni slipped in there too.


Next, I drizzled some garlic-infused olive oil on the crust... and brushed it over the top of the whole crust.


And I will say here that I'm convinced that broiler pans bake pizza doughs just as good as pizza stones. The air circulates up under the crust and dries it out... so it gets nice and crispy and perfectly done!

How did I discover this? Well, we've been using pizza stones for at least 10 years now (for frozen pizzas). And recently our pizza stone dropped and cracked in half. I hadn't had a chance to replace it yet before I wanted to make another pizza. So, I gave the trusty broiler pan a whirl... and voila! Perfectly, crusty crust!


Now, on to the toppings... marinara sauce on His side, pesto on my side.


I sprinkled mozzarella cheese across the whole crust... then...

On His side I topped with meatballs (cut in half)
On my side I topped with sliced raw tomatoes

And then more mozzarella, and (oh yeah) also some crumbled bacon. Yes, bacon.


Next, salame... and some more mozzarella.


Last, a layer of pepperoni... followed by? What else... mozzarella.


TIP FROM LORI: If you like crispy pizza (and we do) then do what we do. If the instructions on the crust reads to bake the pizza at 400 degrees F, then we actually bake it at 425 degrees F for a slightly less amount of time.


So, it's time for the close up shot...


Above: the Manly Meaty Pizza...

Below: the Girly Pesto Pizza...


Both are equally scrumptious... and a little sinful.


We also usually shake some red pepper flakes on top of one of those layers and sometimes some garlic salt too. Tonight I forgot... but we didn't send the pizza back...


enjoy your time in the kitchen...

LinkWithin

Related Posts with Thumbnails