Thursday, July 15, 2010

Carnitas tacos and Not-Your-Average-Corn dish...


We're having a heat wave this week (and probably for the next 4 months). So, it was another quick taco night.

I bought already-cooked carnitas. (Yes, I'm cheating again! Or, I'm one smart-cookie! I guess it depends on how you look at it!) So I made some quick tacos. Corn tortillas enveloped the carnitas, sauteed vegetables (orange bell pepper and red onion), a drizzle of salsa, cilantro, green onions and cotija cheese.

We had some leftover black beans from two nights ago and I have been craving my favorite spicy, creamy corn dish.

So, let me show you what it looks like!

Here's what you need: steamed corn, diced serrano (or jalapeno), cream cheese, butter and kosher salt.


Start with hot corn and very finely diced serrano pepper... if you don't like a lot of pepper heat then remove the seeds/ribs from inside the serrano. I usually take out about half of the seeds and ribs. (I'm a wimp!)


Melt the softened cream cheese and butter in the microwave real briefly and mix well until creamed together...


Pour it over the corn and serrano pepper... and mix well.


Salt to taste... at times i've also added a dash of cayenne pepper for some color and another layer of heat. Oh yum!


Serve it up with your favorite dinner... and make extra! 'Cuz you're going to want it again the next night!


Not-Your-Average Corn
Recipe courtesy Lori Tisdale

Ingredients
4 cups of cooked corn
½ stick butter
½ package of cream cheese, softened
1 serrano pepper, diced
Salt/pepper to taste

Instructions
Melt butter and cream cheese in small sauce pan, on low until completely melted, combined. Add corn and jalapeno – mix well before serving.


enjoy your time in the kitchen...

Tuesday, July 13, 2010

Quick Bolognese and another panini...

Another quick dinner for a hot summer...

I found a recipe on the back of the package for Trader Joe's pappardelle (egg noodle). So I tried it.

This is what it looks like.


But you can't tell by looking at the picture how it tasted.

So, let me ask my hero-of-a-hubby what he thought.

He thought that he wanted to lick the plate clean. And that he did...


I'd say that was pretty scrumptious.


And the panini? It's very simply italiano pane bread (soft, soft, soft bread) with provolone slices inside. I drizzled a little bit of olive oil on the outisde of the bread... and squished it between the panini grill and the panini press. And when I pulled the sandwich off the grill I rubbed it with a large garlic clove... just to leave a hint of garlic on the crispy bread.


My hubby also wanted another sandwich...


I'd say this dish will definitely reappear on our table at some point in the future...


enjoy your time in the kitchen...

Monday, July 12, 2010

Easy Shrimp Fajitas...

I so love making Fajitas <--- check out my prior entry on WHY I love making fajitas and showing how easy they are. Quick recap: They are full of flavor. They are rather healthy. They are pretty fast to both prepare and make. And I don't have to stand over the stove for a long time to put a tasty meal on the table.

Confession: Last night I cheated a bit to make it even easier and quicker. (I do NOT like spending time in the kitchen when it's hot outside!) So, I stopped by my favorite authentic mexican restaurant on the way home from work (Casa de Bandini) and bought part of dinner. I got a pint each of their amazing black beans and their even more surprising arroz amarillo.


And all I did was make shrimp fajitas:
I slightly crushed 4 cloves of garlic and threw them into 1/4 cup of olive oil.
(Crushing opens the clove enough to extract flavor when heat is added.)
I set the stove to medium-low heat and let the garlic and oil 'get friendly'.
They hung out together while I prepared the shrimp, sliced up the veggies, etc.
(They hung out like this for about 10 minutes, just barely sizzling in hot oil.)
I sliced red/orange bell peppers and a red onion.
I then removed the garlic-infused oil from the pan, leaving just a tiny bit behind for the veggies.
The veggies went into the pan and sauteed until they just started to brown.
(Over medium-high heat, they hung out for about 10 minutes.)
(I tossed them several times to make sure they browned on all sides.)
Once soft enough, I removed the veggies to a bowl and set them aside.


This next part goes quickly...
The garlic-infused oil went back into the pan (without the garlic cloves).
I lightly salted the shrimp and added it the oil.
Approximately 30 seconds later, I turned the shrimp over.
I added the veggies back to the pan, waited about 30 seconds and tossed a few times before serving up.


These went perfect with corn tortillas that I warmed ever so slightly on the cast iron tortilla warmer.

Garnish with freshly chopped cilantro and cotija cheese...

You WANT to make these. I promise.


Sidenote: let it be known, it is my goal this summer to figure out how to make the special arroz amarillo that Casa de Bandini rocks! I may have to go back time and again for more test tastes. Oh darn...


enjoy your time in the kitchen...

Saturday, July 10, 2010

Grilled Chicken, prosciutto and provolone panini!


I've been in the panini mood lately...


Which means: I'm missing Geneva, Switzerland.


I lived/worked in downtown Geneva for several months in 1999... and quite often I could be found ordering a ham and swiss panini for lunch, from a street vendor. The paninis were made fresh while I waited ... so I would watch the happenings in the park.

And as far as I'm concerned... it was the best lunch in town. (But don't let this secret get out to any of the high-paid chefs in town!) It was hot. It could be wrapped in paper. I could walk down to the shore of Lac Leman while I was eating.


Feeilng nostalgic lately ... I broke out the cast iron panini grill and press.


Simple ingredients... sliced/buttered bread, fileted chicken breast, prosciutto, provolone and tomato. I fileted the chicken breast before cooking it. Cooks faster. Cooks evenly. Makes for a great panini.

So here's what took place next...


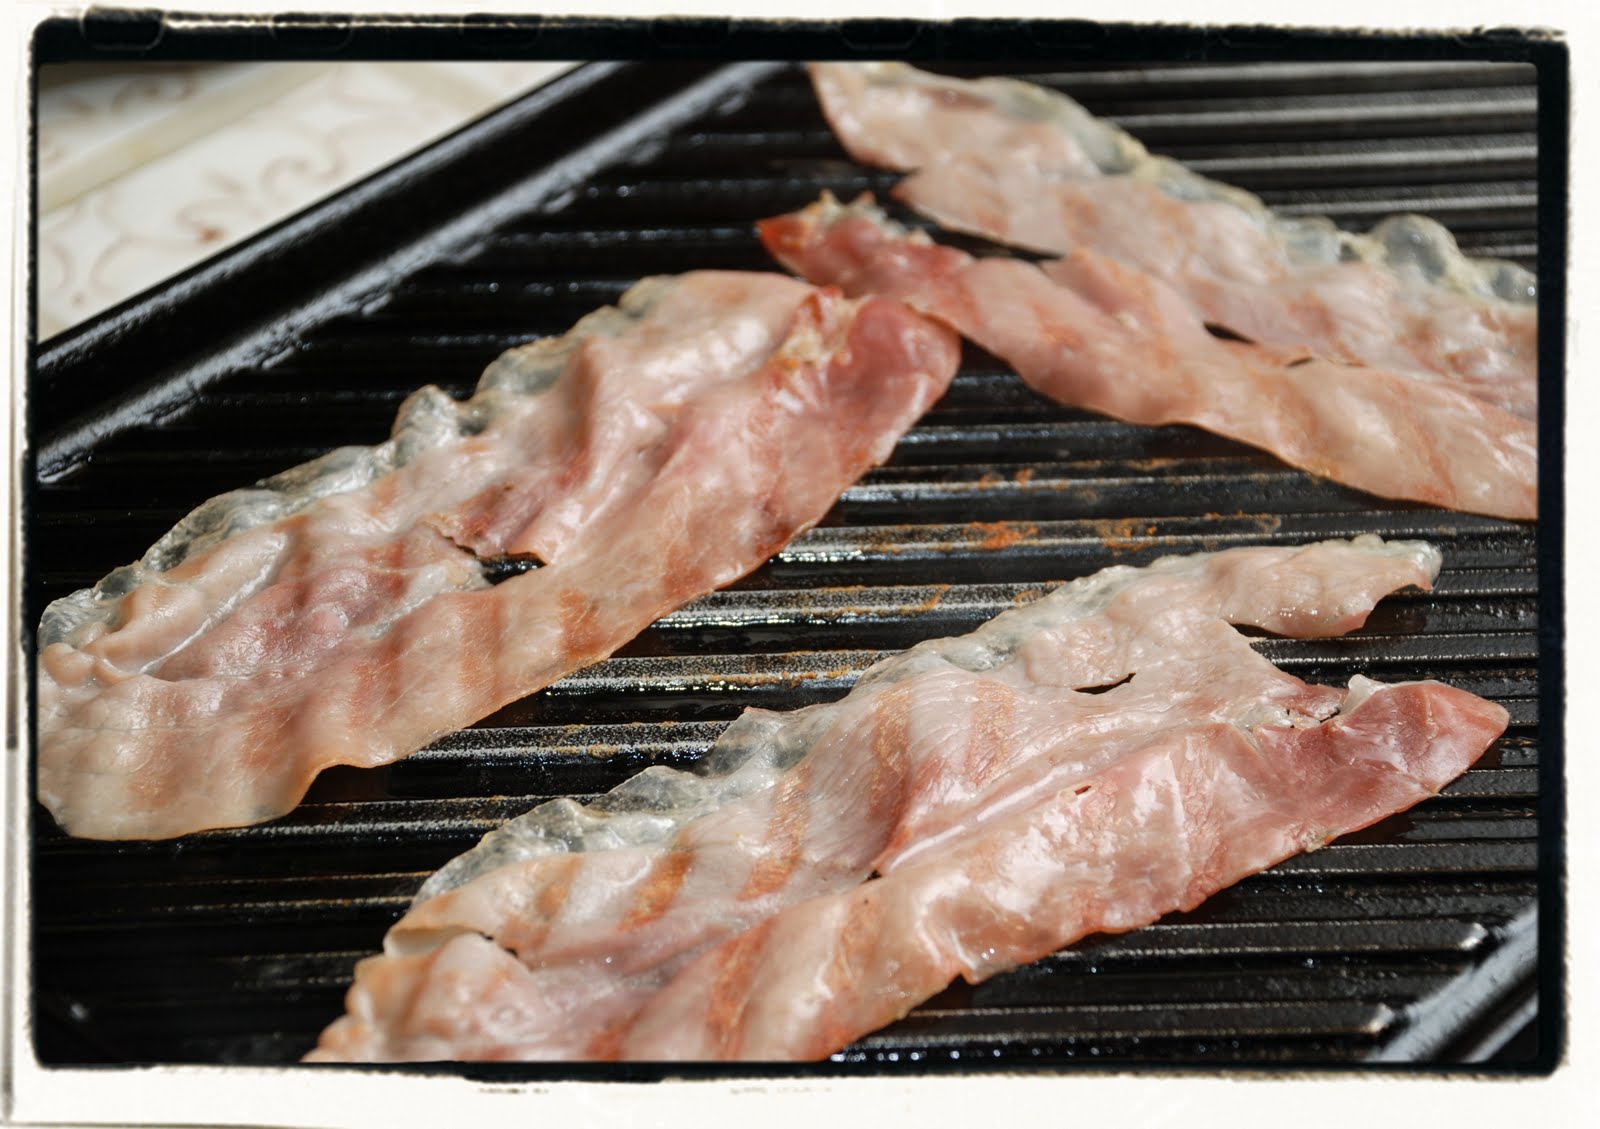
Starting with some crisped up prosciutto... it's salty. It's thin. It's oh-so-good!!!


On a grill pan or in a saute pan. It will only take about 45 seconds on each side... and then it's crisp. Set it aside and it's time to move on to the chicken.

Kosher salt on the chicken...


Chicken on the indoor grill pan...

And a-flip!


Once the chicken is done, the paninis can be built. Time to move from the grill pan to the cast-iron panini grill.


Buttered side of the bread face down on the grill.... add the cheese...


Then the next ingredients... in this case, tomatoes followed by prosciutto.


Keep layering... chicken and the "top" of the sandwich.


Place the panini press on top and push it down with the handle on top. You DO want to squish the sandwich. So, go ahead... squish!


After about 1 1/2 - 2 minutes, flip the sandwich over.


And again... squish!


Another 1 1/2 - 2 minutes and it should be ready.


This is my favorite part. When you turn the sandwich over you will see the cheesy crust created by your squishing. And it is oh so good...


Cut it in half and share it only with the ones you love...


enjoy your time in the kitchen...

Sunday, July 4, 2010

Simple homemade caramel sauce...

... that'll make ya wanna slap ya grandma!

And I'm not kidding...


You won't believe how simple this is...

5 ingredients: butter, half and half, kosher salt, brown sugar and vanilla extract.


And a sauce pan, some heat and a whisk!


It's really that simple...


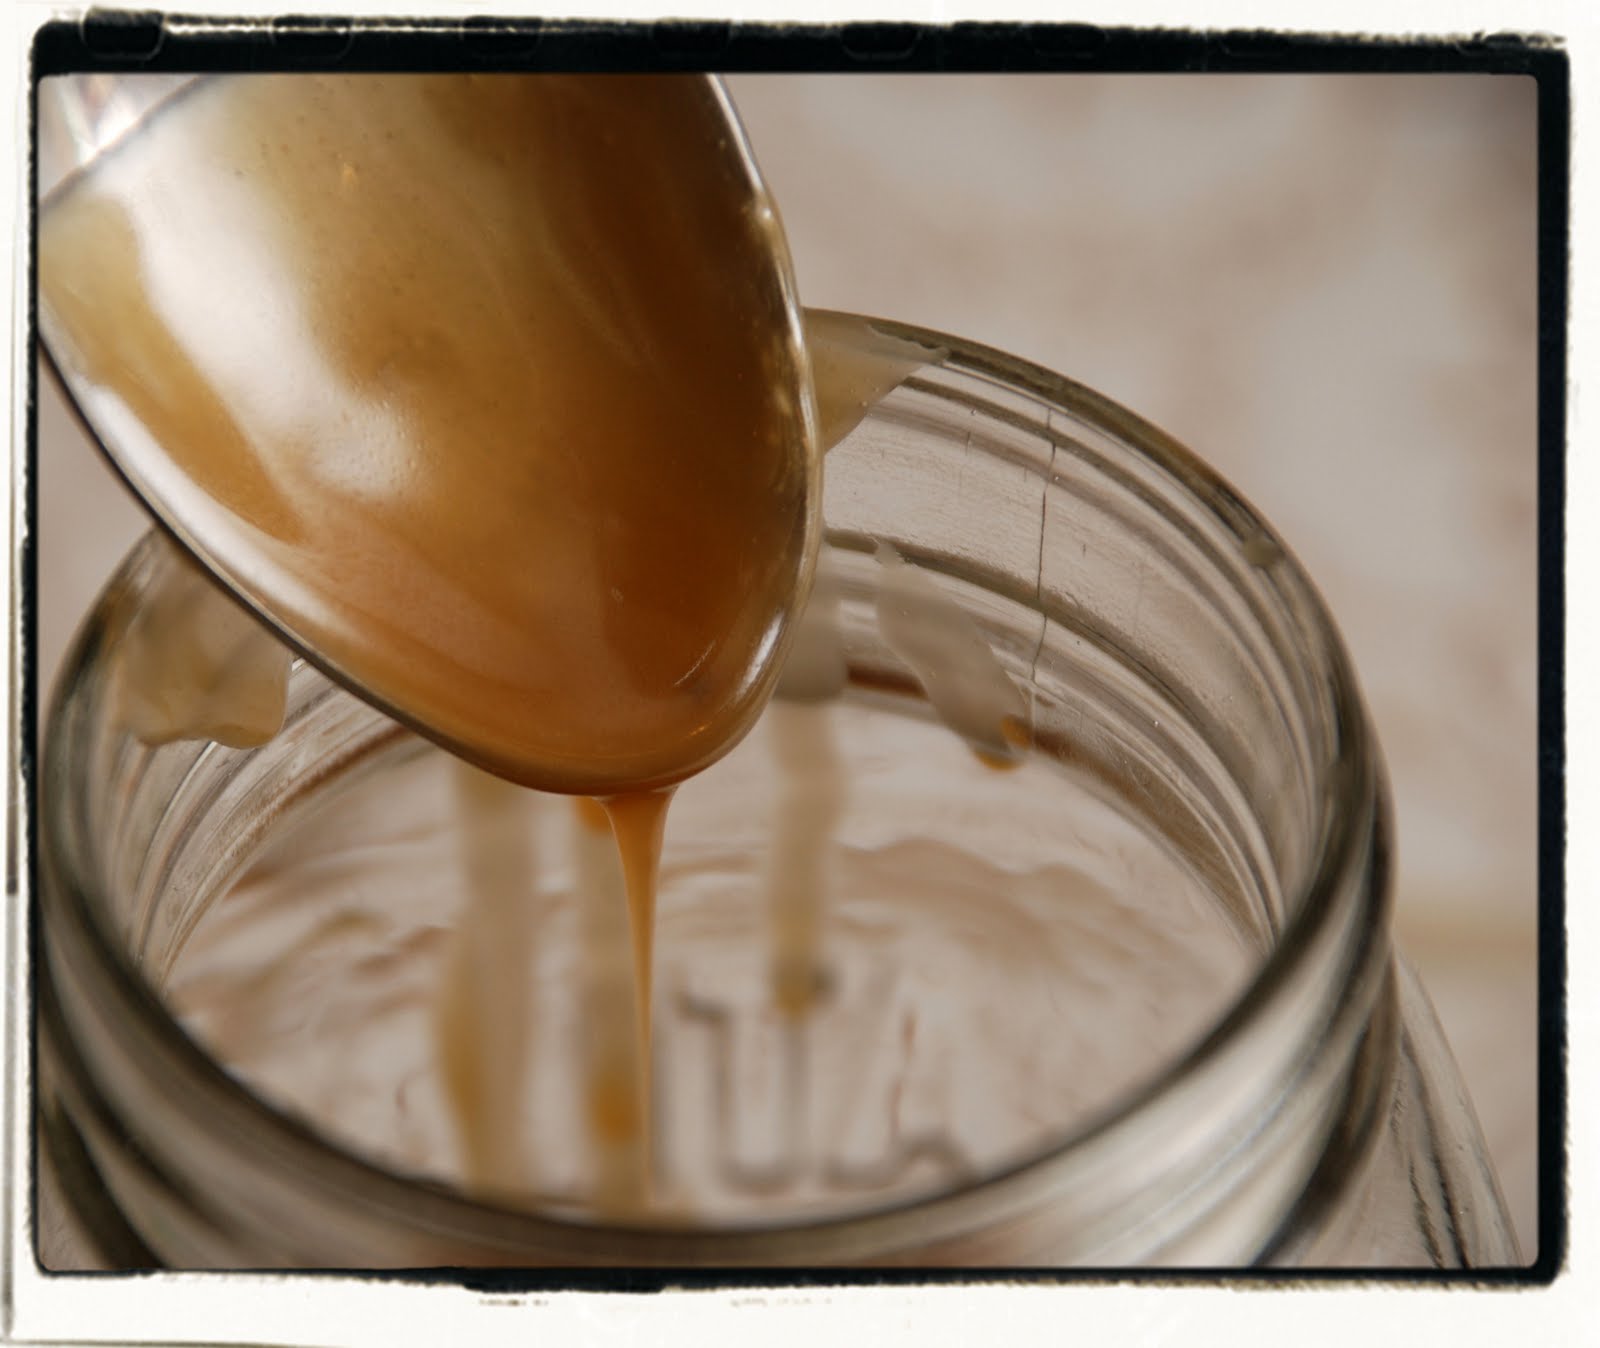
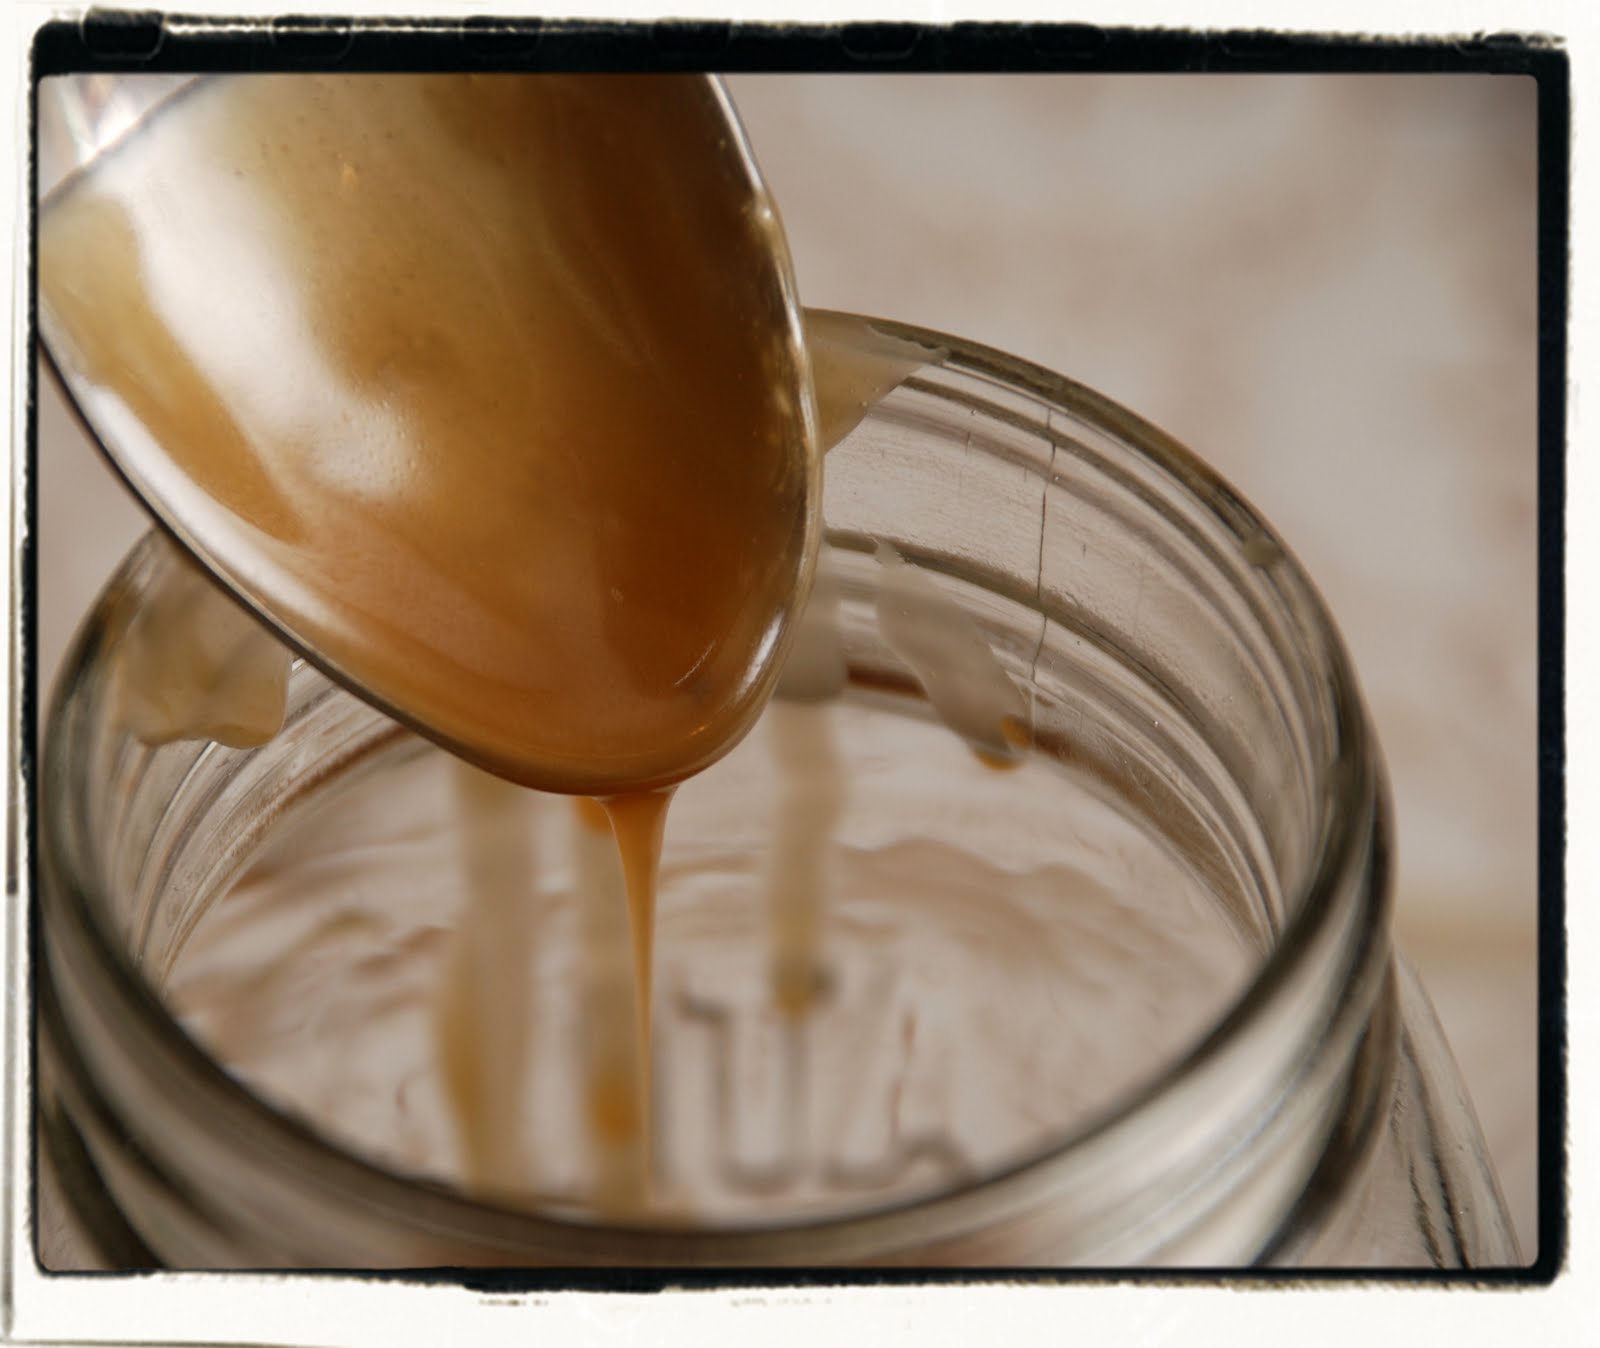
It quickly transforms... yes, this quickly!


See?! (At this point, I've been in the kitchen less than 3 minutes!)


One more thing... some vanilla extract. (It's my personal opinion that if it has vanilla extract in it... I'm going to like it!)


Thank you, once again, Pioneer Woman... you've made my life a little better today! Again!

(Editor's note: no, the whisk in the background is NOT set aside for me to lick every last drop of buttery-sugary goodness off it ... not even later! And if you believe that... )


OK yeah, forget the whisk. I'm going in with a spoon!


(And I may or may have not gone in for another dip of the spoon before I put it in the refrigerator to cool down for several hours.)


And then it was time for dessert.

My hubby has been asking for brownies all week... but he didn't know about the caramel!

(Cha-ching! Extra points for me!)


Wait - can I see that again?!


Yeah, that's what I thought... it's time to go sit down now. I'm going to have to call for the curtain now.


And now for the recipe... on her website you'll see that she serves the caramel sauce over an ice cream pie: Ice Cream Pie with Easy Caramel Sauce

But here's the recipe for just the sauce... mmmmm!!!


PW's Easy Caramel Sauce
Recipe courtesy Pioneer Woman

Ingredients
4 tablespoons Butter
1 cup brown sugar, packed (always packed)
½ cup half-and-half
pinch of salt
1 tablespoon vanilla

Instructions
Mix butter, brown sugar, half & half, and salt in a saucepan over medium low heat. Cook while whisking gently for 5 to 7 minutes, until thicker. Add vanilla and cook another minute to thicken further. Turn off heat and pour sauce into a jar. Refrigerate until cold.

Then I let it set out a little bit before I put it on top of our dessert. Store in the refrigerator in an air-tight container.


enjoy your time in the kitchen...

Saturday, July 3, 2010

A brunch and a new quiche

This morning I hosted a brunch for a small group of gals. We laughed. We sat around. We laughed some more.

But more importantly we enjoyed Lemon Deluxe Bars, a new quiche (recipe below), banana bread and some fresh fruit. Oh yeah... and maybe a mimosa (or two)!


Well you might remember another quiche... but in my opinion, this is much better without the sausage. So here's the recipe for the best Chile Relleno Quiche you'll ever taste! You can thank me later...


Chile Rellenos Quiche
Recipe handed down from a friend of Gramma H’s

Ingredients
10 large eggs
1 pint cottage cheese (any style)
1 teaspoon baking powder
10 drops of Tabasco sauce
½ cup flour
1 pound Monterey jack cheese, shredded
7 ounce can of diced green chiles, undrained
½ cup butter, melted

Instructions
Preheat oven to 400 degrees F

In a blender, blend the following ingredients – eggs, cottage cheese, baking powder, Tabasco sauce and flour.

In a large bowl, combine jack cheese, green chiles and butter. Add blended mixture to bowl and mix well.

Grease a 9” x 13” baking dish and pour in mixture.

Bake at 400 degrees F for 15 minutes. Then reduce heat to 350 degrees F and bake for another 25-30 minutes.


You'll want to make this tomorrow...


enjoy your time in the kitchen...
Happy 4th!!!

This is my silly way of saying HAPPY 4th of JULY, folks!

(Go ahead, tell me how weird I am!)


enjoy your time in the kitchen...


LinkWithin

Related Posts with Thumbnails